Wednesday, August 15, 2018

Miss You–Color Throwdown Challenge #506

CTD506_2018aug15


Hey there and welcome to a brand new Color Throwdown! Lisa is our hostess this week and she has a soft palette for us to work with based on her fun inspiration piece.


swatch506

I wanted to see if I could create a softer look with alcohol inks than I’d been able to get before so I thought these colors would be good to work with. I used Aqua and Shell Pink and worked them as I usually do with a small brush and lots of alcohol. I like it!

I cut a panel of the background, matted it with Fresh Squeezed Chevron Paper Pack from
MFT and popped it up on foam on a Stone Gray card stock base. 

CTD506_2018aug15b

Then I cut Miss You Die-namics from Silver Shine card stock and Steel Gray card stock and stacked them, the silver offset just a bit to allow the edge of Steel Gray to show. I adhered that to the alcohol ink panel and finished off with some Sprinkles in matching colors. 

And that’s it from me! Remember, you do not have to have the exact colors to play the Color Throwdown challenge. If you don't, just use the closest you have. So, c'mon over to the Color Throwdown blog and play along with us this week. Please use the link service to post your card and please link directly to your card so we can find it easily. And please include a link in your post to the Color Throwdown. If you upload your card to a public forum, please use the keyword CTD506 so we can see your beauty all in one place, and use #ctd506 and #colorthrowdown on social media. Hope to see you there! Be sure to check out what the other team members have come up with this week, along with our super talented Guest Designer, Joy Taylor!

Amy Rohl
Amy Rysavy
Barbara Anders
(<—You are here!)
Broni Holcombe
Jodi Collins
Lisa Henke
Lori Tecler
Lynn Put
Vickie Zimmer
Wanda Cullen
Joy Taylor – August Guest Designer

Thanks so much for stopping by today! See you soon!

1newsupplies_thumb[1]

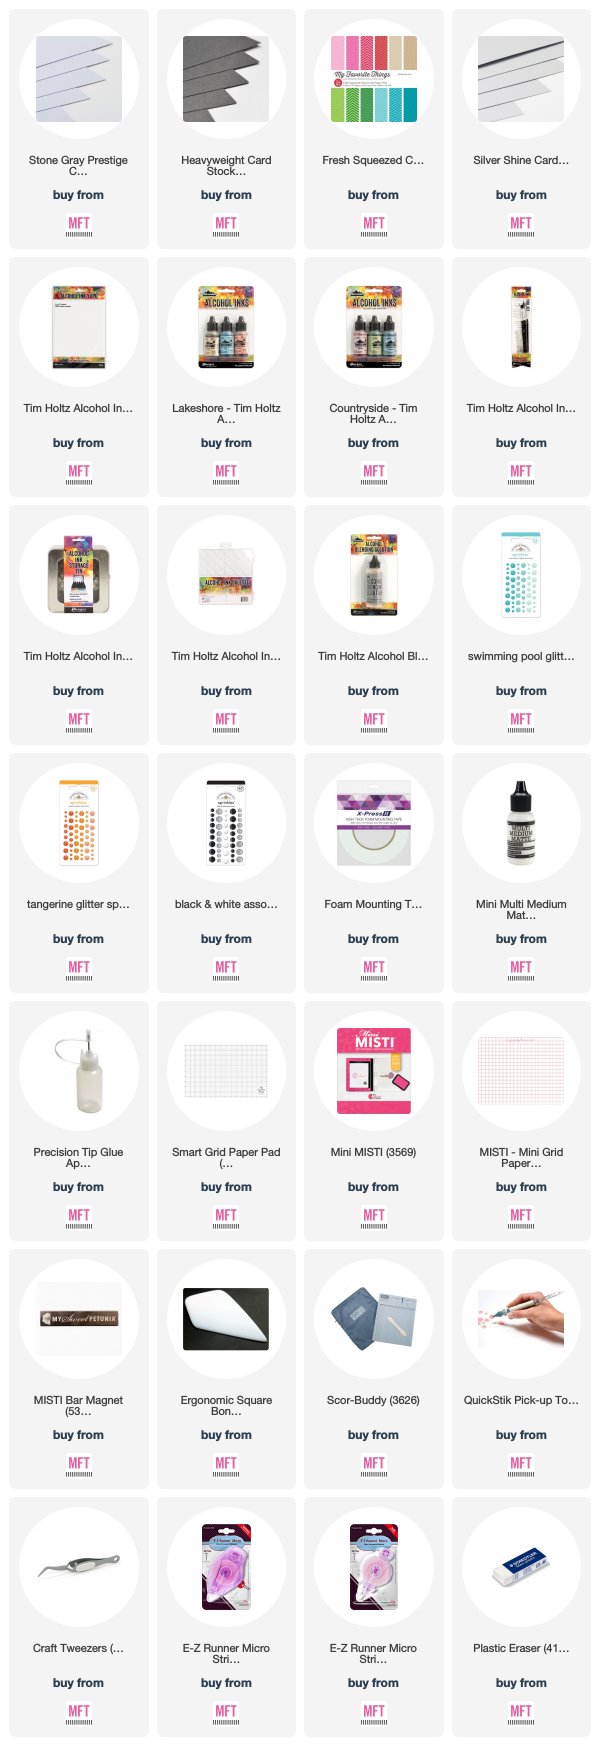
All products from My Favorite Things unless otherwise noted.

Die-namics: Miss You
Specialty Inks: Aqua and Shell Pink Alcohol Inks
Patterned Paper: Fresh Squeezed Chevron
MFT Card Stock: Stone Gray, Steel Gray
Specialty Papers: Yupo, Silver Shine
Supplies: foam mounting tape, E-Z Runner, Multi Medium Matte Glue, Sprinkles: Swimming Pool, Tangerine, Black & White Assortment
Tools: Smart Grid Paper Pad, Mini MISTI, Mini MISTI Grid Paper Pad, MISTI Bar Magnets, Square Bone Folder, Scor-Buddy, QuickStik Pick-up Tool, Precision Tip Glue Applicator Bottle, craft tweezers, plastic eraser, Alcohol Ink Tools/Supplies: Alcohol Ink Tool Set, Alcohol Ink Blending Solution, Alcohol Ink Palette
Other: Die-cutting machine, paper cutter


1newsignature_thumb[1]

Tuesday, August 14, 2018

You’re a Superstar–August MFT and Friends

MFTandFriends_2018aug14


Today our team is taking a fresh look at our most recent release with inspiring ideas and innovative takes on the complete collection. We love the opportunity to look at our products with fresh eyes, envisioning entirely new ways to showcase the possibilities they present. We can’t wait to share our ideas with you!


MFTandFriends

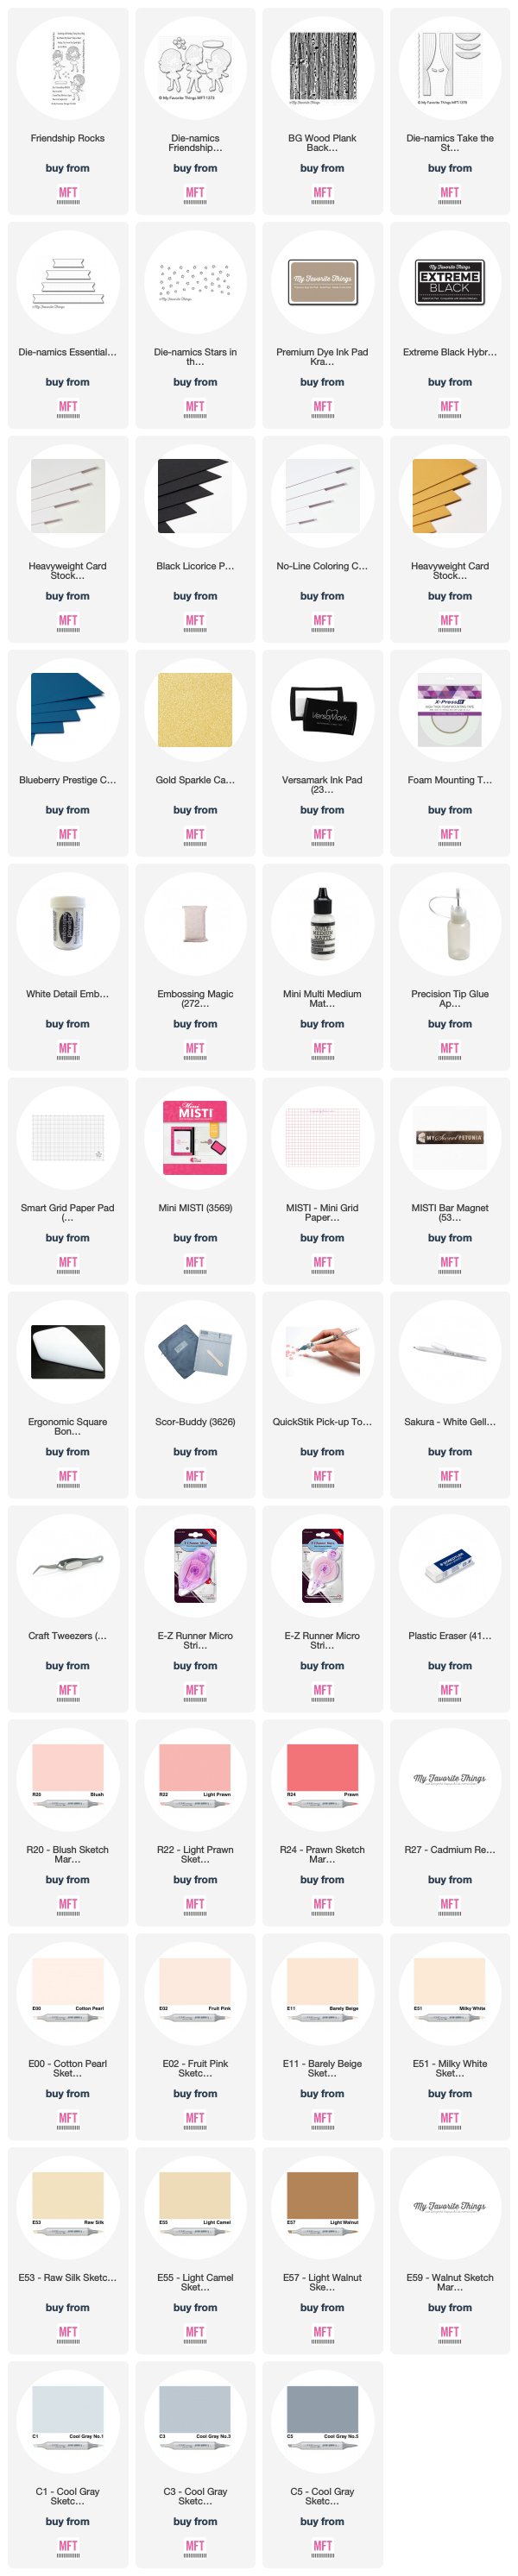
I’m using an image from Friendship Rocks Stamp Set and Die-namics for my card today, along with the recently released Take the Stage Die-namics. I cut the backdrop from Blueberry card stock and then cut it several times with Stars in the Sky – Horizontal, “lined’ it with Gold Sparkle card stock, and popped it up on foam tape. The stage “floor” was made by stamping Wood Plank Background with Kraft dye ink on Safety Orange card stock.

MFTandFriends_2018aug14b

After the backdrop was in place, I added the curtains, cut from more Gold Sparkle card stock using foam tape for dimension. I also adhered the image, stamped with Extreme Black hybrid ink on No-Line Coloring Card Stock, cut with the coordinating Die-namics, and colored with Copic markers. The sentiment was heat embossed on Black Licorice Card Stock cut with Essential Fishtail Sentiment Strips Die-namics.

And that’s it for today! Thanks so much for stopping by! See you soon!


1newsupplies_thumb[1]

All products from My Favorite Things unless otherwise noted.

Stamps: Friendship Rocks, Wood Plank Background
Die-namics: Friendship Rocks, Take the Stage, Essential Fishtail Sentiment Strips, Stars in the Sky – Horizontal
Dye Ink: Kraft
Hybrid Ink: Extreme Black
Specialty Inks: Versamark
MFT Card Stock: Sweet Tooth, Black Licorice, Blueberry, Safety Orange, No-Line Coloring
Specialty Papers: Gold Sparkle
Supplies: foam mounting tape, E-Z Runner, white detail embossing powder, Multi Medium Matte Glue
Tools: Smart Grid Paper Pad, Mini MISTI, Mini MISTI Grid Paper Pad, MISTI Bar Magnets, Square Bone Folder, Scor-Buddy, QuickStik Pick-up Tool, Precision Tip Glue Applicator Bottle, Embossing Magic, Copics, Sakura White Gelly Roll Pen, craft tweezers, plastic eraser
Other: Die-cutting machine, paper cutter, heat tool

1newsignature_thumb[1]

Thursday, August 09, 2018

Dance & Twirl, Birthday Girl–MFT August Tips & Tricks

tipsandtricks_2018aug9

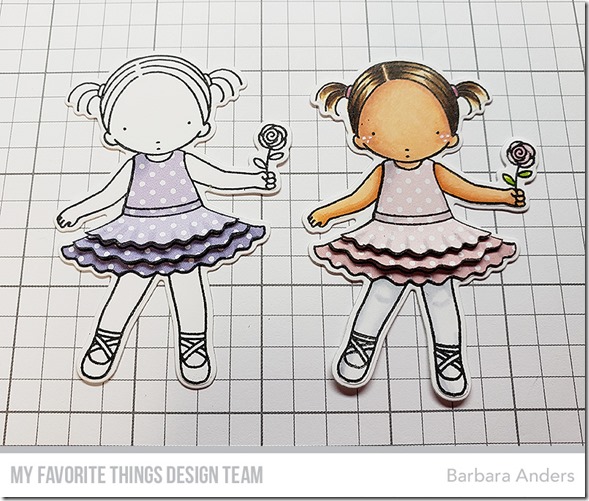
Hello and welcome to Tips & Tricks for August! With today’s card I’m going to show you how to make this layered tutu that PI is wearing and cover up a mistake at the same time! Well, not exactly a mistake, but I colored the tutu and was not AT ALL happy with it—it wasn’t horrible but I was not happy so I got the idea to paper piece it and it grew from there.

This view shows the dimension a little better—you can see the layers of ruffles that make it 3-D.

tipsandtricks_2018aug9c


I already had this one done when I got the idea to show you all how I did it so I’m using a new copy for that--I can go back and color the rest of the image when I’m ready to use it. So to begin, stamp and die cut the image like always. Then stamp the area to be paper pieced on patterned paper (for this I’m using the smallest print I have, Itsy Bitsy Polka Dots Pastels Paper Pack for the tutu). Normally for paper piecing you would be done stamping now, but since I was going to layer the ruffles, I stamped it twice more on a darker shade of paper.

tipsandtricks_2018aug9d


Next, cut the patterned paper out with detail scissors in the CENTER of the ink line. This is so when you adhere it to the main image the ink lines will merge and be one.

tipsandtricks_2018aug9e


Next, I usually go around the patterned paper with a water-based marker to cover the white edge of paper that will invariably show. Do NOT use Copic markers or alcohol markers. This paper is very porous and alcohol inks will bleed badly. Ask me how I know. I use Stampin’ Up markers that I’ve had for forever, but Distress markers would work fine, I’d think.

tipsandtricks_2018aug9f


Next, adhere the bottom ruffle to the main image completely. See how cutting the piece out in the center of the ink line makes it blend perfectly?

tipsandtricks_2018aug9g


Now let’s adhere the middle layer, but only the top edge—you want the bottom edge of the ruffle to be free so you can curl it up a little to add dimension.

tipsandtricks_2018aug9h

And, finally, adhere the top layer of the tutu, adhering everything except, again, the ruffle edge. When you curl that layer up you have lots of dimension.

tipsandtricks_2018aug9i


Here are the two versions side-by-side, one ready to go on a card, the other waiting until I decide to color and use it.

tipsandtricks_2018aug9j


Once I had my little girl done, I built her a stage using Take the Stage Die-namics and In the Spotlight Stencil. The floor was made by stamping Wood Plank Background with Kraft dye ink on Safety Orange Card Stock, making it look a lot like oak flooring.

tipsandtricks_2018aug9b

I used Sweet Tooth pigment ink for the spotlight and heat embossed the sentiment. The background was made from After Midnight Card Stock and the curtains cut from Cornflower card stock with Silver Sparkle card stock tie backs.

And that’s it from me today! I hope my tips & tricks will help you give your tutu some dimension and show you how to cover up a problem area should it occur :)

Thanks for stopping by! See you soon!


1newsupplies_thumb[1]

All products from My Favorite Things unless otherwise noted.

Stamps: PI Tu-tu Sweet, Wood Plank Background
Die-namics: PI Tu-tu Sweet, Take the Stage, Essential Fishtail Sentiment Strips
Stencils: In the Spotlight
Dye Ink: Kraft
Hybrid Ink: Extreme Black
Specialty Inks: Sweet Tooth Pigment, Versamark
Patterned Paper: Itsy Bitsy Polka Dots Pastels
MFT Card Stock: Sweet Tooth, Black Licorice, After Midnight, Cornflower, Safety Orange, No Line Coloring
Specialty Papers: Silver Sparkle card stock
Supplies: foam mounting tape, E-Z Runner, white detail embossing powder, Multi Medium Matte Glue
Tools: Smart Grid Paper Pad, Mini MISTI, Mini MISTI Grid Paper Pad, MISTI Bar Magnets, Square Bone Folder, Scor-Buddy, QuickStik Pick-up Tool, Precision Tip Glue Applicator Bottle, Embossing Magic, Copics, Sakura White Gelly Roll Pen, craft tweezers, plastic eraser, sponge daubers, Precision Scissors
Other: Die-cutting machine, paper cutter, heat tool


1newsignature_thumb[1]

You Are in Our Hearts–MFT Color Challenge #99

MFTCPC99_2018aug9

Hi, all, I'm back with the latest MFT Color Challenge! Are you ready? Here’s this week’s color combo: Latte, Cement Gray, Black Licorice, and Persimmon. All of the details about the color challenge are available on the MFT Challenge & Inspiration blog as well as in the weekly newsletter. The MFT Design Team will be on hand to provide plenty of inspiration to get you started.

Print

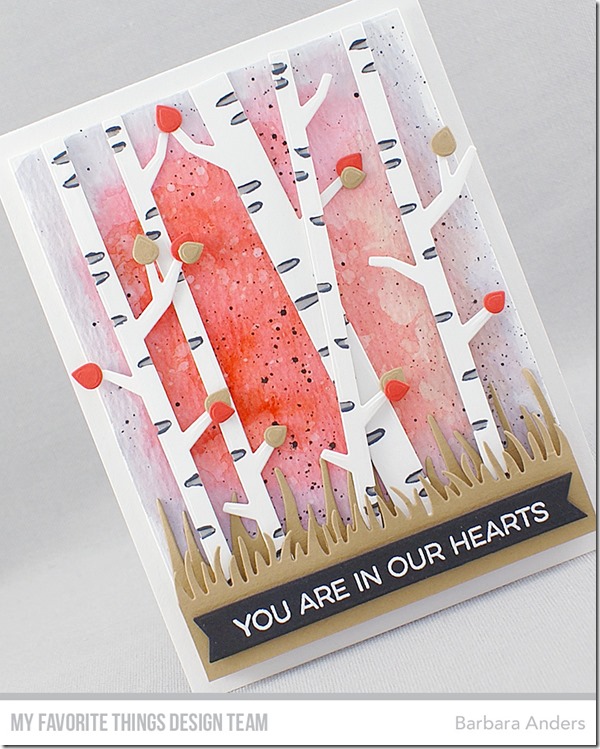
This was a pretty scary color combo at first, LOL! Then I started looking through my pins as I’m wont to do when I need inspiration and what did I find? A watercolor picture using pretty much these exact colors!!! So I completely took my inspiration from that piece of art and ran with it. To begin, I did a watercolor background on Ranger Watercolor paper using the gray and the persimmon colors, then splattered it with some black Liquitex acrylic ink once it was dry, then popped it up on a Sweet Tooth card stock base. Next I cut Birch Trees Die-namics from Sweet Tooth card stock and, since the solid trees were retired, I simply cut some Cement Gray strips to go behind them after marking the cuts with a Copic marker.

MFTCPC99_2018aug9b

I adhered the trees, some directly and some popped up on foam, and added leaves cut from Latte and Persimmon card stock. I added Grassy Edges cut from Latte card stock and heat embossed a sentiment from From All of Us Stamp set on Black Licorice card stock cut with Essential Fishtail Sentiment Strips and popped up on foam. I am loving how this turned out! I need to pin more watercolors, I guess ;-)

And there you have it! Remember, you can get all the details by visiting the
MFT Challenge Blog. You have the chance to win a $50 in MFT voucher. One winner is chosen at random each week!

Thanks for stopping by! See you soon!


1newsupplies_thumb[1]

All products from My Favorite Things unless otherwise noted.

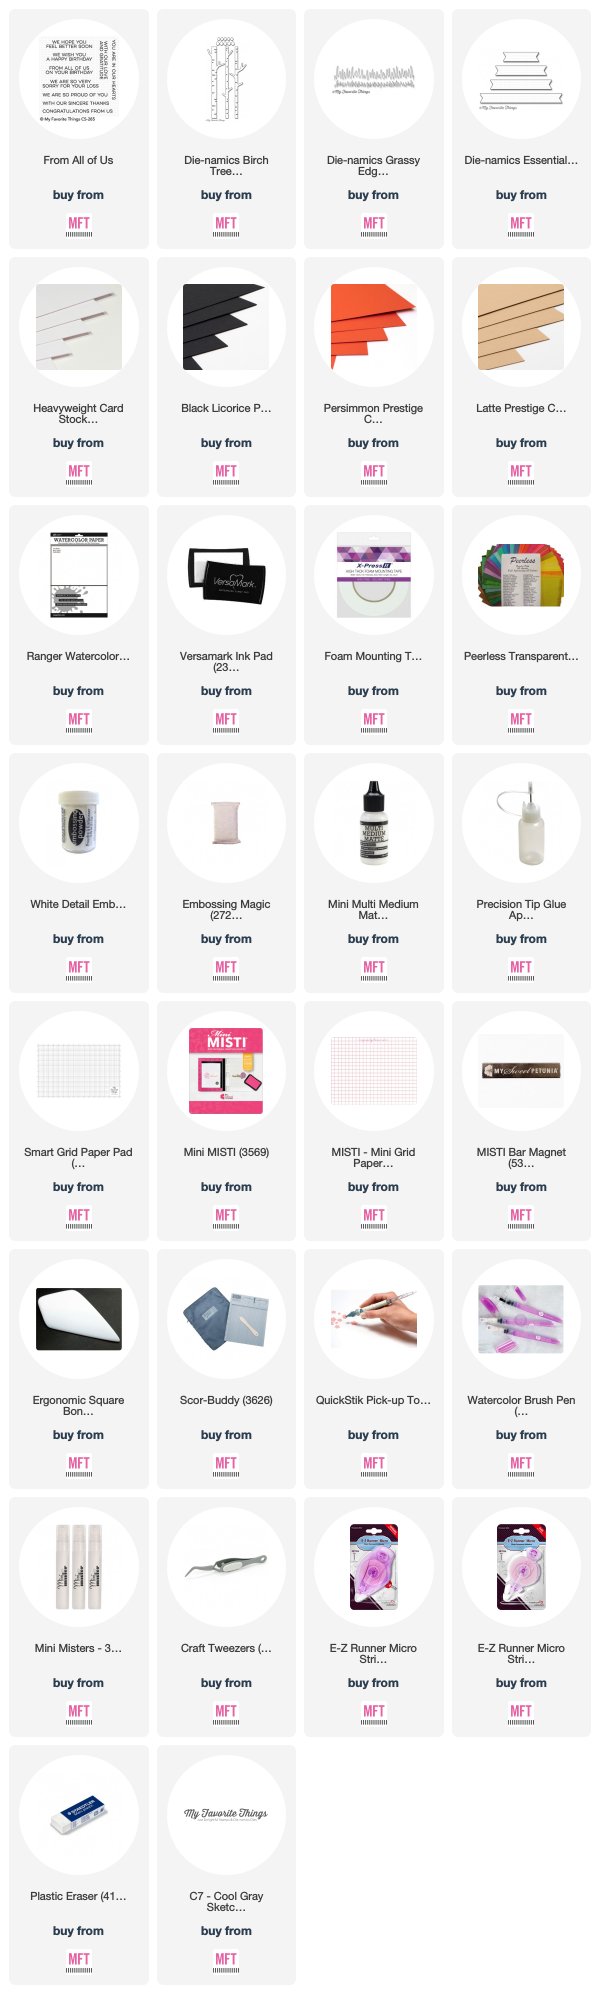
Stamps: From All of Us
Die-namics: Birch Trees, Grassy Edges, Essential Fishtail Sentiment Strips
Specialty Inks: Versamark
MFT Card Stock: Sweet Tooth, Black Licorice, Latte, Persimmon
Specialty Papers: Ranger Watercolor Paper
Supplies: foam mounting tape, E-Z Runner, Peerless Watercolors, white detail embossing powder, Multi Medium Matte Glue
Tools: Smart Grid Paper Pad, Mini MISTI, Mini MISTI Grid Paper Pad, MISTI Bar Magnets, Square Bone Folder, Scor-Buddy, QuickStik Pick-up Tool, Precision Tip Glue Applicator Bottle, Embossing Magic, Mini Mister, water brush, craft tweezers, plastic eraser, Copic marker
Other: Die-cutting machine, paper cutter, heat tool, black Liquitex acrylic ink


1newsignature_thumb[1]

Wednesday, August 08, 2018

MFT August Just Add Color

justaddcolor_2018aug8

Hey, everyone, it’s time for the August Just Add Color Feature from MFT. I did a coloring guide using the just-released Friendship Rocks Stamp Set.

MFT_JustAddColor_sidebar

I stamped all the images on No-Line Coloring Card Stock with Extreme Black Hybrid Ink then cut them out with the coordinating Die-namics before coloring them with Copic markers. I’ve listed the colors below for each image.

Brown Hair: E51, 53, 55, 57, 59
Blond Hair: YR30, 21, 24
Red Hair: YR12, 04, 15, E9
Skin: E00, 02 11
Mic: C1, 3, 5
Green Dress/shoes/hair bow: YG21, 25, 03
Red Dress/shoes/hair bow: R20, 22, 24, 27
Blue Dress/shoes/hair bow: BG000, 01, 05

I hope this will help you some when you go to color your own Friendship Rocks images. Links to everything except Copic markers are listed below.

Thanks so much for stopping by! See you soon!


1newsupplies_thumb[1]

1newsignature_thumb[1]