Friday, June 28, 2019
Sending You Sunshine--Doodlebug Pop-Up Shadow Box Card
Hi everyone, Barbara here with a super fun card idea for you today. I'm using several Doodle Stamps and Doodle Cuts to create this pop-up shadow box card. A simple Google search for "pop-up shadow box card" will yield you tons of tutorials so I'm not going to reinvent the wheel here, just tell you how and what I used for this card. I began by cutting white card stock to 5 1/2" x 6 1/4", scored at 1/2" and " on each short end to end up with an A2 size card when it's folded down. Once I had the back scored and folded, I added some sky using Simply Spring 6 x 6 paper pad. I cut the opening for the front out of an identical sized piece of white card stock with a rectangle die, scored and folded it, and added some grass to the bottom and the bottom of the background with paper from Hoppy Easter 6 x 6 paper pad.
Next I stamped the images from Flower Girl, Oh, Boy!, and Rainbows & Unicorns Doodle Stamps, cut them out with the coordinating dies, and colored them with Copic markers. Then I arranged the colored elements until I was happy with it and adhered them to the back panel with Foam tape. The clouds were adhered to the back of the front panel for added dimension. Another fun element was added by adhering the bee to a narrow strip of clear acetate card stock then sandwiched that between the front and back panels as they were adhered together. Here's a little video to show the interaction this creates:
How cute is that??? To finish up I heat embossed the sentiment from Oh, Boy! Doodle Stamps on black card stock and popped it up on foam at the bottom of the card front. There are all sorts of ways to use this simple interactive design with your Doodle Stamps and Doodle Cuts so I hope you'll make one of these super fun cards soon!
That's it from me today! Thanks for stopping by!
Doodlebug Supplies:
Flower Girl Doodle Stamps
Oh, Boy! Doodle Stamps
Rainbows & Unicorns Doodle Stamps
Flower Girl Doodle Cuts
Oh, Boy! Doodle Cuts
Rainbows & Unicorns Doodle Cuts
White card stock
Black card stock
Simply Spring 6 x 6 paper pad
Hoppy Easter 6 x 6 paper pad
Other Supplies:
Paper cutter
Die-cutting machine
Copic markers
Copic friendly black ink
Stamp positioner
White detail embossing powder
Versamark
Heat tool
Thursday, June 27, 2019
Beautiful Inside & Out–MFT Color Challenge #120
Hi, all, I'm back with the latest MFT Color Challenge! Are you ready? Here’s this week’s color combo: Grout Gray, Grape Jelly, Coral Crush, and Electric Red. All of the details about the color challenge are available on the MFT Blog as well as in the weekly newsletter. The MFT Design Team will be on hand to provide plenty of inspiration to get you started.
These colors remind me of Valentine’s Day but I resisted ;-) For my card I started by sponging MFT dye inks in the challenge colors on Strathmore Bristol Smooth paper and splattered it with silver acrylic ink then popped it up on a Grout Gray card base with foam mounting tape. Next I cut the mat from Beautiful Die-namics from Silver Sparkle card stock and the actually word from Grape Jelly card stock. The sentiment, from Hello, Beautiful Stamp Set, was heat embossed with silver detail embossing powder on Coral Crush card stock cut with Skinny Strips Die-namics.
The sentiment strip was adhered directly to the card front and the die cut was popped up on foam tape. I finished off by added Fab Foliage Die-namics cut from Grout Gray card stock and Mini Rolled Roses Die-namics cut from Electric Red, Coral Crush, and Grape Jelly card stock, all adhered with hot glue.
And there you have it! Remember, you can get all the details by visiting the MFT Challenge Blog. You have the chance to win a $50 in MFT voucher. One winner is chosen at random each week!
Thanks for stopping by! See you soon!
All products from My Favorite Things unless otherwise noted.
Stamps: Hello Beautiful
Die-namics: Beautiful, Fab Foliage, Mini Rolled Roses, Skinny Strips
Dye Ink: Grape Jelly, Coral Crush, Electric Red
MFT Card Stock/Specialty Papers: Grape Jelly, Coral Crush, Electric Red, Grout Gray, Silver Sparkle
Supplies/Tools: foam mounting tape, Smart Grid Paper Pad, Mini MISTI, Mini MISTI Grid Paper Pad, MISTI Bar Magnets, Square Bone Folder, Scor-Buddy, craft tweezers, Mini Ink Blending Tool
Other: Die-cutting machine, paper cutter, Strathmore Bristol Smooth paper, tape runner, silver detail embossing powder, Embossing Magic, Multi Medium Matte Glue, Precision Tip Glue Applicator Bottle, QuickStik Pick-up Tool, plastic eraser, heat tool, hot glue/gun, silver acrylic ink, small art brush
Wednesday, June 26, 2019
You Are Mermazing–MFT Wednesday Sketch Challenge #443
Hi, everyone, I'm back with this week's MFT Wednesday Sketch Challenge! Are you ready? Here's this week's sketch. All of the details about the sketch challenge are available on the MFT Blog as well as in the weekly newsletter. The MFT Design Team will be on hand to provide plenty of inspiration to get you started.
I decided to make a shaker element out of that big ol’ center star. Since we no longer have any big ol’ stars I went with LJD Jumbo Peek-a-Boo Circle Windows Die-namics for my center element. To begin, I heat embossed Whimsical Waves Background on Ranger Watercolor paper and applied a watercolor wash. While that was drying, I stamped my image from BB Mermazing on No Line Coloring card stock with Extreme Black hybrid ink, cut it out with the coordinating Die-namics, and colored it with Copic markers.
Next I created the shaker element with clear acetate card stock for the window, foam tape, sequins, and Silver Shimmer seed beads. I adhered that to the card base, added the sentiment, heat embossed on Grape Jelly card stock cut with Fishtail Flag Trio Die-namics and popped it up on foam tape. I popped up the mermaid as well, and finished off with some sequin accents.
And there you have it! Remember, you can get all the details by visiting the MFT Challenge Blog. You have the chance to win a $50 in MFT voucher. One winner is chosen at random each week!
Thanks for stopping by! See you soon!
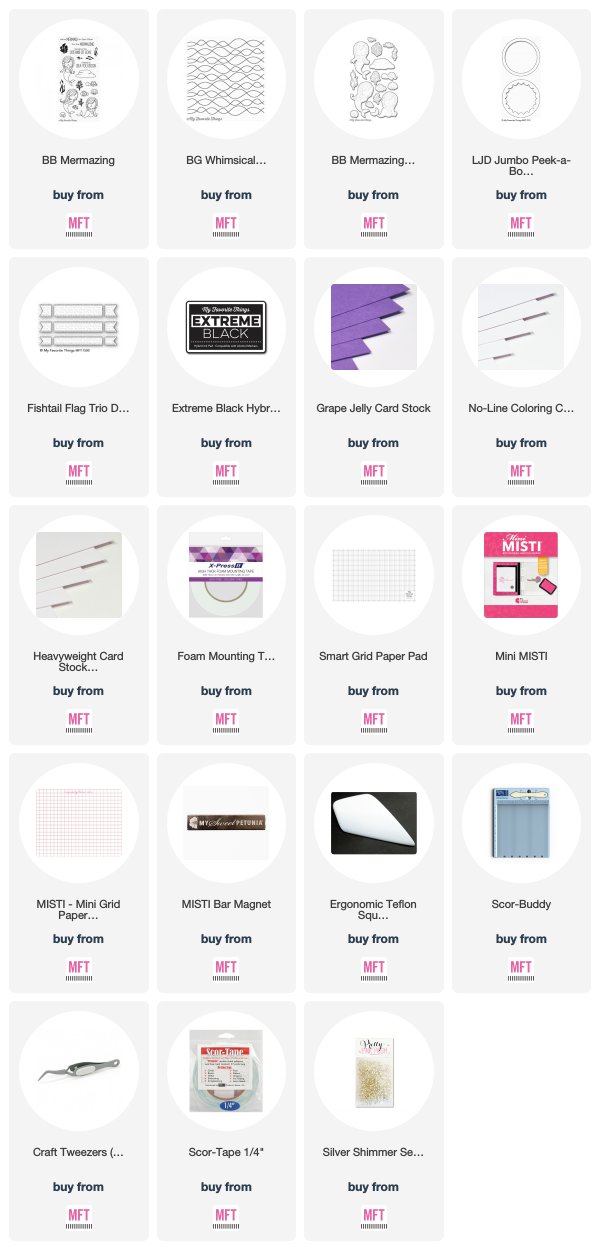
All products from My Favorite Things unless otherwise noted.
Stamps: BB Mermazing, Whimsical Waves Background
Die-namics: BB Mermazing, LJD Jumbo Peek-a-Boo Circle Windows, Fishtail Flag Trio
Hybrid Ink: Extreme Black
MFT Card Stock/Specialty Papers: Sweet Tooth, No Line Coloring, Grape Jelly
Supplies/Tools: foam mounting tape, Smart Grid Paper Pad, Mini MISTI, Mini MISTI Grid Paper Pad, MISTI Bar Magnets, Square Bone Folder, Scor-Buddy, craft tweezers, 1/4” ScorTape, Silver Shimmer seed beads
Other: Die-cutting machine, paper cutter, Copic markers, white detail embossing powder, Embossing Magic, Multi Medium Matte Glue, Precision Tip Glue Applicator Bottle, QuickStik Pick-up Tool, Sakura White Gelly Roll Pen, Mini Mister, water brush, plastic eraser, Versamark, clear acetate card stock, Peerless Watercolors, Ranger Watercolor Paper, sequins
A Note to Lift Your Spirits–Color Throwdown Challenge #549
I had to think about this one—when I made this card my brain was tired, LOL. So I did several trial arrangements of the elements before I was satisfied and this is what I ended up with. I started by dry embossing Sweet Tooth card stock with English Brick Wall Stencil then adhered it to a Sweet Tooth card stock base with foam tape. Next I cut Birdbath Die-namics from Cement Gray card stock and added some Copic marker shading, then popped it up on foam tape. IRL you can see I added Nuvo clear glaze to the “water”. Next I stamped the birdie from A Tweet Hello Stamp set on No Line Coloring card stock with Extreme Black hybrid ink, cut it out with the coordinating Die-namics, colored it with Copic markers and popped it up on foam on the birdbath.
And that’s it from me! Remember, you do not have to have the exact colors to play the Color Throwdown challenge. If you don't, just use the closest you have. So, c'mon over to the Color Throwdown blog and play along with us this week. Please use the link service to post your card and please link directly to your card so we can find it easily. And please include a link in your post to the Color Throwdown. If you upload your card to a public forum, please use the keyword CTD549 so we can see your beauty all in one place, and use #ctd549 and #colorthrowdown on social media. Hope to see you there! Be sure to check out what the other team members have come up with this week, including our amazing June Guest Designer, Alicia Thelin!
Amy Rohl
Amy Rysavy
Barbara Anders (<—You are here!)
Broni Holcombe
Jodi Collins
Lisa Henke
Lori Tecler
Lynn Put
Vickie Zimmer
Wanda Cullen
Alicia Thelin – June Guest Designer
Thanks so much for stopping by today! See you soon!
Stamps: A Tweet Hello
Die-namics: A Tweet Hello, Birdbath, Single Stitch Line Rectangle Frames, Hello. Skinny Strips
Stencils: English Brick Wall
Patterned Paper: Tiny Check
Dye Ink: After Midnight
Hybrid Ink: Extreme Black
MFT Card Stock/Specialty Papers: Sweet Tooth, After Midnight, Cement Gray, Coral Crush
Supplies/Tools: foam mounting tape, Smart Grid Paper Pad, Mini MISTI, Mini MISTI Grid Paper Pad, MISTI Bar Magnets, Square Bone Folder, Scor-Buddy, craft tweezers, Die-namics Embossing Pad Combo
Tuesday, June 25, 2019
Flowers in Bloom–MFT June Card Kit Release
It’s time to shop!! Flowers in Bloom, MFT’s June Card Kit is now available for purchase in the MFT Online Boutique. Be sure to stop by the MFT Blog for all the details and more inspiration for YOU Flowers in Bloom Card Kit!
Thanks so much for stopping by! See you soon!
All products from My Favorite Things unless otherwise noted.
Stamps: Flowers in Bloom
Die-namics: Flowers in Bloom, Folded Fishtail Banner
Patterned Paper: Black & White Stripes
Hybrid Ink: Extreme Black
MFT Card Stock/Specialty Papers: Sweet Tooth, Black Licorice, No Line Coloring
Supplies/Tools: foam mounting tape, Smart Grid Paper Pad, Mini MISTI, Mini MISTI Grid Paper Pad, MISTI Bar Magnets, Square Bone Folder, Scor-Buddy, craft tweezers
Other: Die-cutting machine, paper cutter, Copic markers, tape runner, white detail embossing powder, Embossing Magic, Multi Medium Matte Glue, Precision Tip Glue Applicator Bottle, QuickStik Pick-up Tool, plastic eraser, heat tool, Versamark
Monday, June 24, 2019
Flowers in Bloom–MFT June Card Kit, Day Two
For today’s card, I started with a piece of watercolor paper from my stash on which I’d heat embossed Mini Hearts Background in gold. I’d planned to use gold on this card so it was perfect as a starting place.
I applied a watercolor wash using the Color Burst powders in the kit then adhered it to a Sweet Tooth card stock base when it was dry. I heat embossed the flowers on Translucent Vellum with gold embossing powder and popped them up with clear foam tape just behind the flower centers so it doesn’t show.
Next I heat embossed a sentiment from the set on the Free with $60 Folded Fishtail Banner Die-namics along with part of a sentiment from From the Heart Stamp Set. I popped it up on foam on the card front and was done!
Thanks so much for stopping by today! Hope to see you back tomorrow for MFT’s June Card Kit Release!
All products from My Favorite Things unless otherwise noted.
Stamps: Flowers in Bloom, Mini Hearts Background, From the Heart
Die-namics: Flowers in Bloom, Folded Fishtail Banner
MFT Card Stock/Specialty Papers: Sweet Tooth, Translucent Vellum
Supplies/Tools: foam mounting tape, Smart Grid Paper Pad, Mini MISTI, Mini MISTI Grid Paper Pad, MISTI Bar Magnets, Square Bone Folder, Scor-Buddy, craft tweezers
Other: Die-cutting machine, paper cutter, Ranger Watercolor paper, tape runner, gold detail embossing powder, Embossing Magic, QuickStik Pick-up Tool, water brush, plastic eraser, clear foam tape, Versamark
Sunday, June 23, 2019
Flowers in Bloom - MFT June Card Kit, Day One
Included in this kit are three colors of Ken Oliver Color Burst powders created to match MFT colors—Tropical Teal, Coral Crush, and Jellybean Green. I used all three on this card—Tropical Teal to do a watercolor wash for the background on Ken Oliver watercolor paper (also included in the kit) and adhered it to a Sweet Tooth card stock base. The other two colors were used on the flowers after heat embossing with white detail embossing powder and cutting out with the coordinating Die-namics
Before popping the flowers up on foam tape I stamped a sentiment from the set with Extreme Black hybrid ink. I love how clean and fresh these flowers look so I went with a CAS design that I’m loving.
And that’s it from me today—thanks so much for stopping by! See you back tomorrow for Day Two!
All products from My Favorite Things unless otherwise noted.
Stamps: Flowers in Bloom
Die-namics: Flowers in Bloom
Hybrid Ink: Extreme Black
MFT Card Stock/Specialty Papers: Sweet Tooth, Ken Oliver Watercolor paper
Supplies/Tools: foam mounting tape, Smart Grid Paper Pad, Mini MISTI, Mini MISTI Grid Paper Pad, MISTI Bar Magnets, Square Bone Folder, Scor-Buddy, craft tweezers, Tropical Teal, Coral Crush, and Jellybean Green Color Burst
Other: Die-cutting machine, paper cutter, tape runner, white detail embossing powder, Embossing Magic, water brush, plastic eraser
Thursday, June 20, 2019
Eek! It’s Your Birthday!–MFT June Birthday Project Challenge
Hi there and welcome to the June edition of MFT’s Birthday Project Challenge! While some surprises are less-than-welcome, a birthday surprise is definitely an exception. If the birthday boy or girl isn’t the surprise party type, crafting a card that features a peek-a-boo element is a perfect compromise. With a variety of Die-namics options — from flip-up windows to interactive wheels, you’re sure to come up with the perfect peek-a-boo design for this month’s Birthday Project challenge.
I hadn’t used Stitched Triple Peek-a-Book Window & Edge Die-namics in a while and I love it so it was good to get it out again! To begin this card, I stamped a Sweet Tooth card stock base with Happy Birthday Background, then cut the peek-a-boo element from more Sweet Tooth card stock and set it aside. I stamped SY It’s a Mice Time to Celebrate Stamp Set on No Line Coloring card stock with Extreme black hybrid ink, cut them out with the coordinating Die-namics, and colored them with Copic markers. It’s hard to see in my photo but IRL you can see I used Glossy Accents on the glasses and puffy paint on the hat pompoms.
Once all the coloring was done I decided how I wanted to arrange the mice and adhered them to the back of the peek-a-boo panel with foam tape, then added more foam tape and adhered the panel to the card base. I popped up the balloon image and heat embossed the sentiment on Black Licorice card stock cut with Essential Fishtail Sentiment Strips, also popped up on foam tape.
Now, it's your turn. You have until Wednesday, July 17th, at noon Eastern to add your link on the MFT Blog and be eligible for the prize of $50 in MFT Cash to be spent in the MFT boutique. Winners are chosen at random, so everyone has a chance!
And that’s it from me today! Thanks so much for stopping by! See you soon!
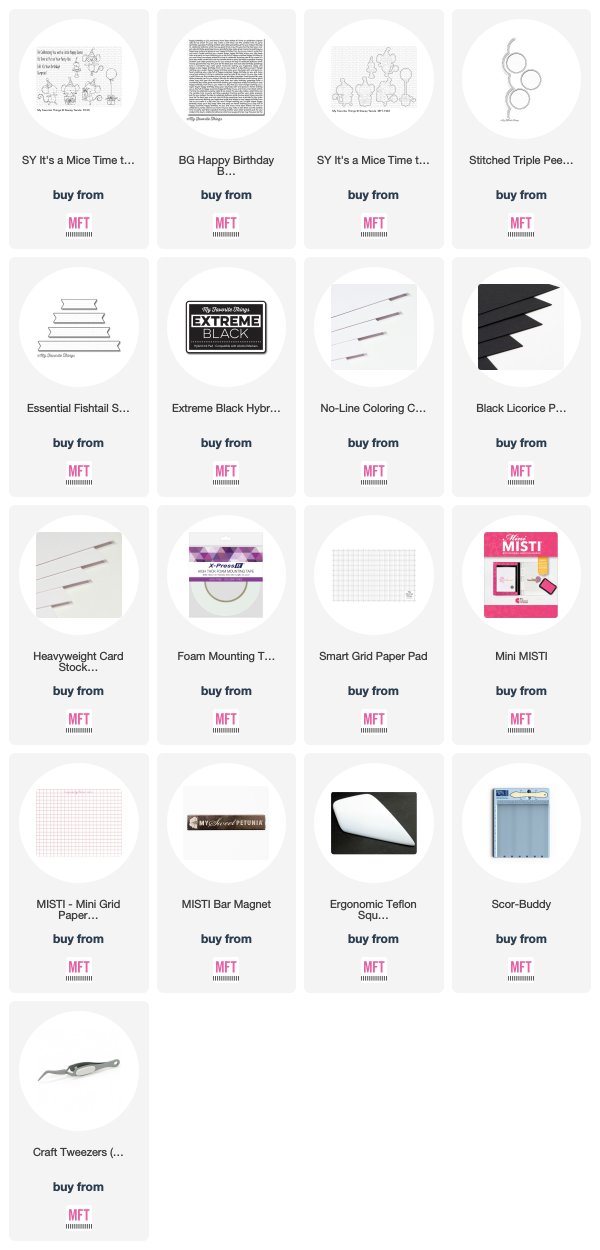
Stamps: SY It’s a Mice Time to Celebrate, Happy Birthday Background
Die-namics: SY It’s a Mice Time to Celebrate, Stitched Triple Peek-a-Book Window & Edge, Essential Fishtail Sentiment Strips
Hybrid Ink: Extreme Black
MFT Card Stock/Specialty Papers: Sweet Tooth, Black Licorice, No Line Coloring
Supplies/Tools: foam mounting tape, Smart Grid Paper Pad, Mini MISTI, Mini MISTI Grid Paper Pad, MISTI Bar Magnets, Square Bone Folder, Scor-Buddy, craft tweezers
