Showing posts with label MFT Slimline Challenge. Show all posts

Thursday, July 15, 2021

Feeling Beachy - MFT July Slimline Challenge


It’s the height of summer fun and the perfect time to impart some dreamy beach landscapes into your card making. Wide swathes of sun, sand, and sea provide the perfect backdrop for activity-packed scenes as well as relaxing tableaus. Join the team this month as they share slimline cards featuring an inviting beach theme.


I love creating a good beach scene and the slimline format gives you so much more real estate to play with, so I pulled out ALL the stops on this card :)

To begin, I cut Sweet Tooth card stock with Slimline Starter Die-namics, Then, using Lazy Day dye ink and Slimline Cloud Edges Stencil, I created my sky, stamped the sentiment, and adhered it directly to a Sweet Tooth card stock base.


Next I cut Slimline Ocean Motion twice and Slimline Stitched Snow Drifts Die-namics from Ken Oliver card stock and applied watercolor washes with Peerless Watercolors. I spattered with water and ink and white craft ink, then, to show that snow in a jar is not just for snow, I applied some to all the wave points to simulate foam. These were all adhered directly to the card front.


The images were stamped on No Line Coloring card stock with Extreme Black hybrid ink, cut out with the coordinating Die-namics, and colored with Copic markers. Once the were arranged and popped up on foam tape, it was done!


And there you have it! Now it’s YOUR turn to play! Remember, you can get all the details by visiting the MFT Blog. You have the chance to win a $50 in MFT voucher. Winners are chosen at random, so everyone has a chance!

Thanks for stopping by! See you soon!


All products from My Favorite Things unless otherwise noted.

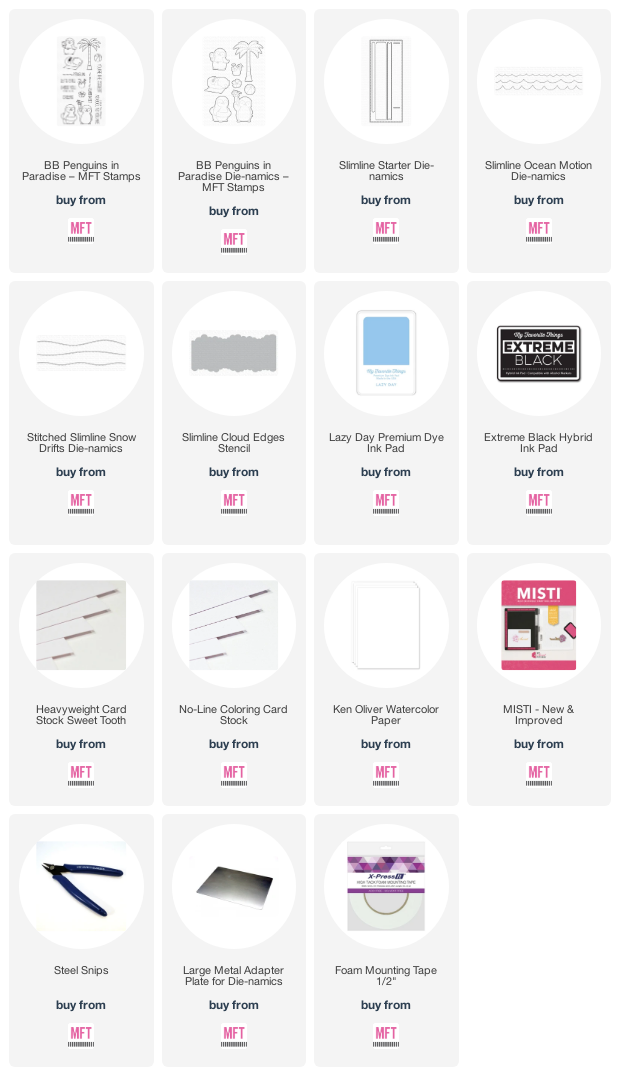
Stamps: BB Penguins in Paradise
Die-namics: BB Penguins in Paradise, Slimline Ocean Motion, Slimline Stitched Snow Drifts, Slimline Starter
Stencils: Slimline Cloud Edges
Dye Ink: Lazy Day
Hybrid Ink: Extreme Black
MFT Card Stock/Specialty Papers: Sweet Tooth, No Line Coloring, Ken Oliver Watercolor Paper
Supplies/Tools: foam mounting tape, MISTI, Steel Snips, Large Metal Adapter Plate for Die-namics, On-Point Precision Glue

Other: Die-cutting machine, paper cutter, MISTI Grid Paper Pad, MISTI Bar Magnets, Copic markers, tape runner, QuickStik Pick-up Tool, Sakura White Gelly Roll Pen, Mini Mister, water brush, plastic eraser, Mini Ink Blending Tool, Mini Ink Blending Foam Pads, Scor-Buddy, Smart Grid Paper Pad, Peerless Watercolors, snow


Thursday, June 17, 2021

Hey Gullfriend! MFT June Slimline Challenge--Things with Wings


Let your imagination take flight! Grab your favorite bugs, bees, butterflies, and birds to create a slimline design featuring things with wings. Try a sprawling horizontal scene or reach for the stars with a vertical stretch of sky-high inspiration.


I loved Seaside Seagulls the first time around and was really bummed when they were retired, so I was SO happy to see them come out of the vault a few months ago!!


To begin, I created my background by cutting Strathmore Bristol Smooth paper with Slimline Starter Die-namics and using Lazy Day ink on Slimline Cloud Edges Stencil and adhered it to a card base. Next I cut Caribbean Sea Card Stock three times with Slimline Ocean Motion Die-namics--I used only the smaller waves since my card real estate was limited. The back one was adhered directly and the others popped up on foam, the front after having the sentiment stamped on it with Extreme Black hybrid ink. To add a little dimension, I lightly sponged the spikes with Caribbean Sea dye ink.


Next, the images were stamped on No Line Coloring card stock with Extreme Black hybrid ink, cut with the coordinating Die-namics, colored with Copic markers, and adhered in the scene with foam tape. To finish off, I added a sun, cut from Lemon Drop card stock with A2 Circle STAX, and Petite Clouds Die-namics cut from Sweet Tooth card stock.


And there you have it! Now it’s YOUR turn to play! Remember, you can get all the details by visiting the MFT Blog. You have the chance to win a $50 in MFT voucher. Winners are chosen at random, so everyone has a chance!

Thanks for stopping by! See you soon!


All products from My Favorite Things unless otherwise noted.

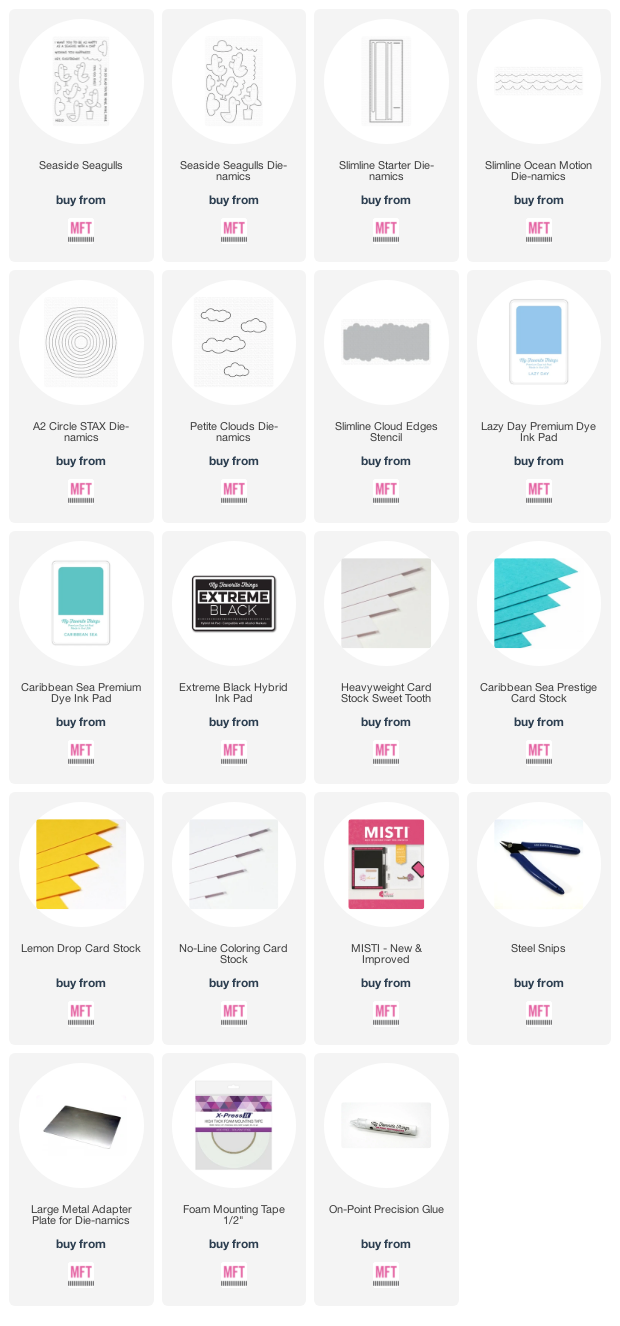
Stamps: Seaside Seagulls
Die-namics: Seaside Seagulls, Slimline Starter, Slimline Ocean Motion, A2 Circle STAX, Petite Clouds
Stencils: Slimline Cloud Edges
Dye Ink: Lazy Day, Caribbean Sea
Hybrid Ink: extreme Black
MFT Card Stock/Specialty Papers: Sweet Tooth, Caribbean Sea, Lemon Drop, No Line Coloring
Supplies/Tools: foam mounting tape, MISTI, Steel Snips, Large Metal Adapter Plate for Die-namics, On-Point Precision Glue

Other: Die-cutting machine, paper cutter, MISTI Grid Paper Pad, MISTI Bar Magnets, Copic markers, Strathmore Bristol Smooth paper, tape runner, QuickStik Pick-up Tool, Sakura White Gelly Roll Pen, plastic eraser, Mini Ink Blending Tool, Mini Ink Blending Foam Pads, Scor-Buddy, Smart Grid Paper Pad


Thursday, May 20, 2021

This One's on Me - MFT May Slimline Challenge


Gift cards are convenient, and a great option for the person that has it all or is difficult to find the perfect gift for. The real fun comes in crafting just​ the perfect card to house your thoughtful present! Coordinating your card to the colors or theme of the gift card can be a fun way to make the process more interesting, and with the bonus space provided by slimline cards, the sky's the limit! Join the design team this month in creating slimline designs with gift cards in mind.


I would love to get a card with a pizza gift card, wouldn't you? How fun to open this up and imagine planning the perfect pizza on which to spend it! To begin, I created a slimline card base, cutting an 8.5" x 7" Sweet Tooth card stock panel and scored and folded it in half. To this I added a Kraft layer cut with Slimline Starter Die-namics.


To this I added Gift Wrap Patterned Paper, which resembles a plaid table cloth. Since on piece wasn't long enough I pieced it under where the sentiment stripe falls for a perfect camouflage. Next I created my pizzas, top to bottom, ham and pineapple, pepperoni, and finally a combo.


The pizzas were cut with Pizza Maker Die-namics, assembled (see card stock colors below), trimmed to fit, and adhered to the card front. The sentiment, from Gift Card Greetings, was heat embossed on Vintage Timber card stock cut with Stitched Fishtail Sentiment Strips and popped up on foam.


For the inside, I cut another piece of Kraft card stock with Slimline Starter, stamped the sentiment from Pizza My Heart Stamp Set with Vintage Timber dye ink, and cut the gift card slot using the just released Itty Bitty Strips Die-namics--it's perfect!! I slipped in the card, closed it up, and it's ready to send. I love this!!


And that's all I have for you today! Thanks so much for stopping by--see you soon!


All products from My Favorite Things unless otherwise noted.

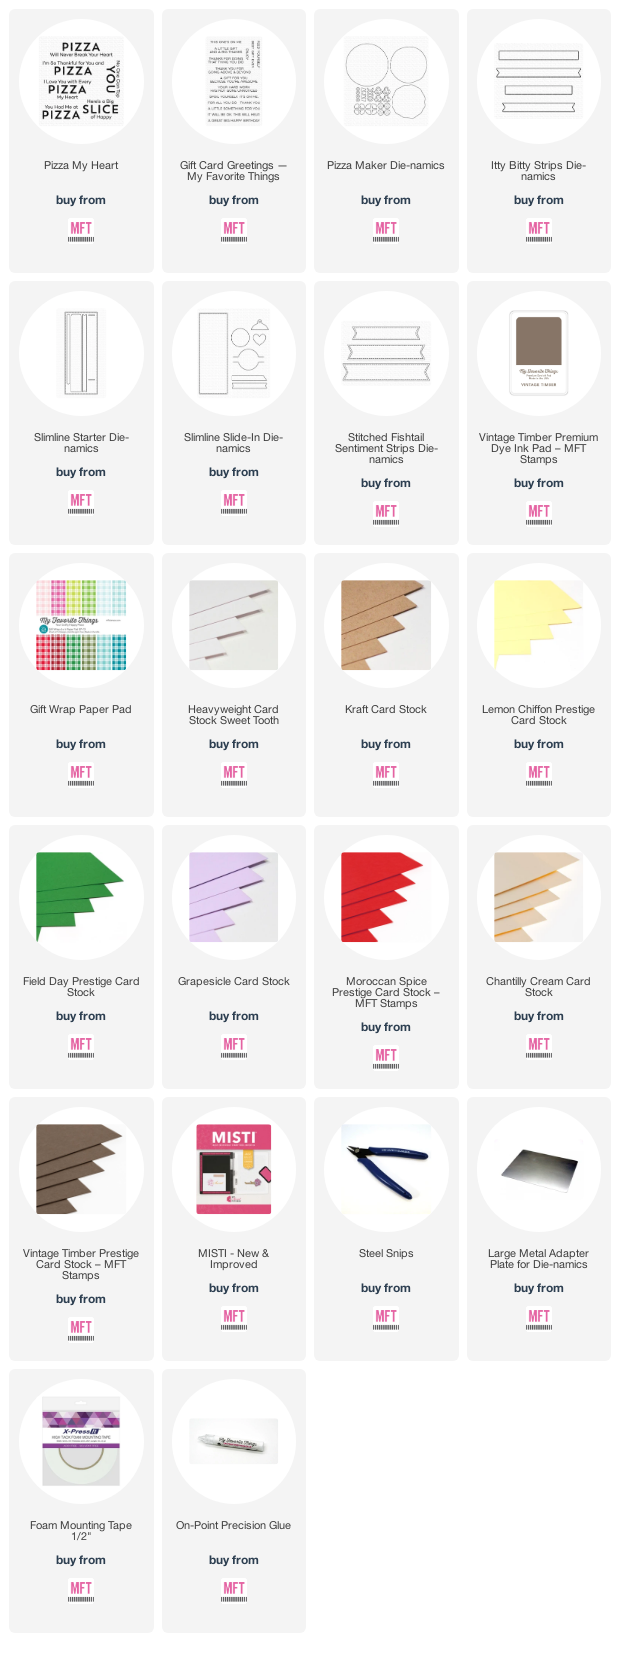
Stamps: Pizza My Heart, Gift Card Greetings
Die-namics: Pizza Maker, Slimline Starter, Slimline Slide-In, Itty Bitty Strips, Stitched Fishtail Sentiment Strips
Patterned Paper: Gift Wrap
Dye Ink: Vintage Timber
MFT Card Stock/Specialty Papers: Sweet Tooth, Kraft, Vintage Timber, Moroccan Spice, Lemon Chiffon, Chantilly Cream, Grapesicle, Field Day
Supplies/Tools: foam mounting tape, MISTI, Steel Snips, Large Metal Adapter Plate for Die-namics, On-Point Precision Glue

Other: Die-cutting machine, paper cutter, MISTI Grid Paper Pad, MISTI Bar Magnets, tape runner, white detail embossing powder, Embossing Magic, QuickStik Pick-up Tool, plastic eraser, Mini Ink Blending Tool, Mini Ink Blending Foam Pads, Scor-Buddy, Smart Grid Paper Pad, Versamark, heat tool


Thursday, April 15, 2021

You Were Born to Bloom - MFT April Slimline Challenge: Spring


Spring has sprung on the calendar, and in the MFT shop, with a bounty of products that celebrate the season. Slimline cards provide a unique opportunity to expand your scene. With the abundance of spring, there are so many joyful ways to utilize that bonus space! This month, we’re challenging our designers, and we’re challenging *you* to showcase your best spring scenes as a slimline design.


Spring has sprung in my neck of the woods for sure. I love watching the trees leaf out in the Spring so decided to incorporate some in this design. To begin, I cut Slimline Starter Die-namics from Strathmore Bristol Smooth paper and sponged my background: Mini Cloud Edges Stencil with Lazy Day dye ink and Drifts & Hills Stencil with Sour Apple and Jalapeño Popper Dye ink. Then I stamped the tree from Wonderful Woods with Vintage Timber, Limelight, and Sour Apple dye inks.


The card front was matted with Sour Apple card stock and popped up on a Sweet Tooth card stock base with foam tape. The images were stamped on No Line Coloring card stock with Extreme Black hybrid ink, cut with the coordinating Die-namics, and also popped up with foam tape.


To finish, the sentiment was heat embossed on Vintage Timber card stock cut with Fishtail Foundations Die-namics and adhered with foam tape. To complete the scene a Lemon Chiffon card stock sun, cut with A2 Circle STAX Die-namics was adhered directly, and several Petite Cloud Die-namics, cut from Sweet Tooth card stock were added.

And there you have it! Thanks so much for stopping by! See you soon!


All products from My Favorite Things unless otherwise noted.

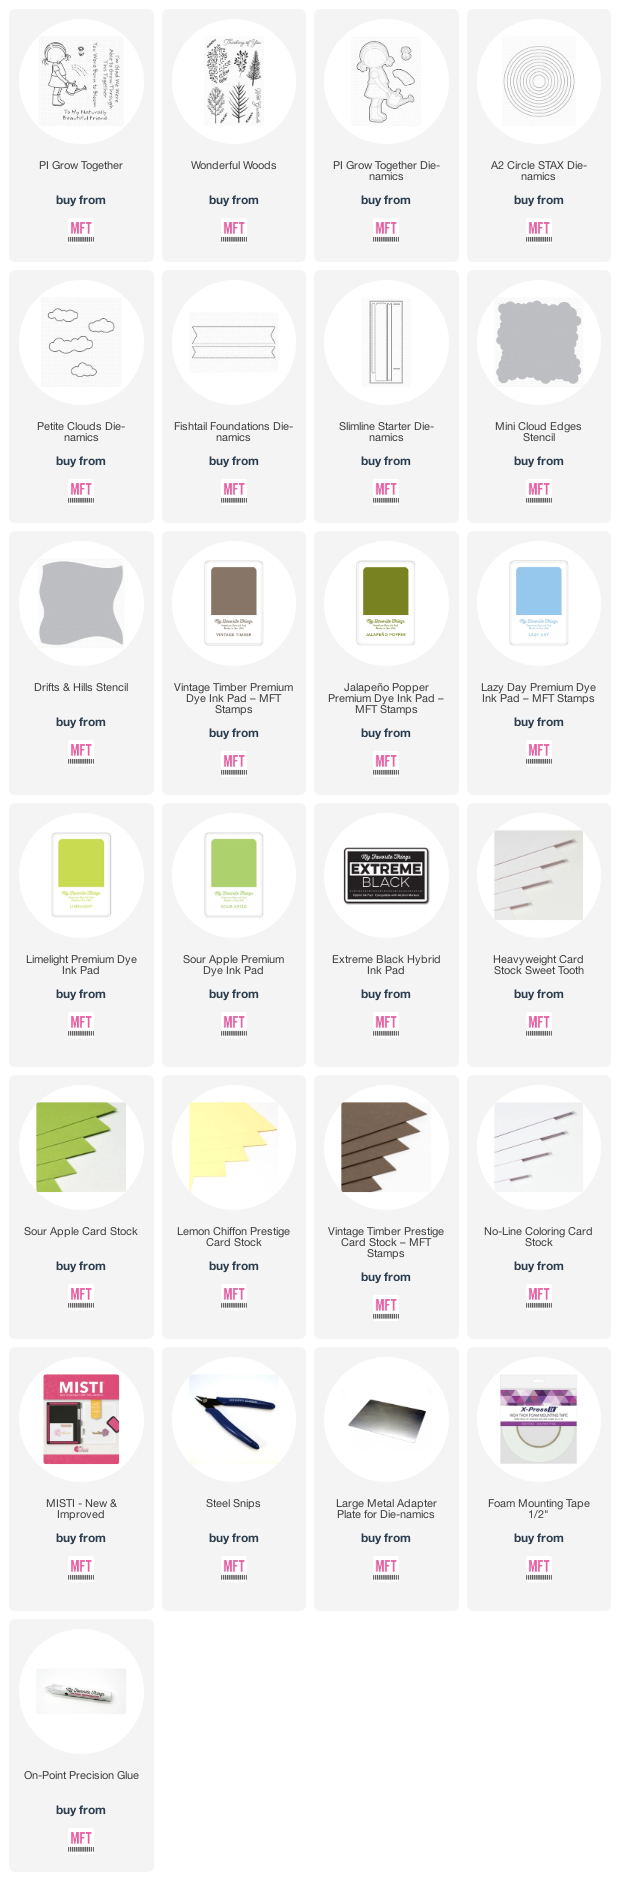
Stamps: PI Grow Together, Wonderful Woods
Die-namics: PI Grow Together, Fishtail Foundations, A2 Circle STAX, Petite Clouds, Slimline Starter
Stencils: Mini Cloud Edges, Drifts & Hills
Dye Ink: Limelight, Sour Apple, Jalapeño Popper, Lazy Day, Vintage Timber
Hybrid Ink: Extreme Black
MFT Card Stock/Specialty Papers: Sweet Tooth, Sour Apple, Lemon Chiffon, Vintage Timber, No Line Coloring
Supplies/Tools: foam mounting tape, MISTI, Steel Snips, Large Metal Adapter Plate for Die-namics, On-Point Precision Glue

Other: Die-cutting machine, paper cutter, MISTI Grid Paper Pad, MISTI Bar Magnets, Copic markers, Strathmore Bristol Smooth paper, tape runner, white detail embossing powder, Embossing Magic, QuickStik Pick-up Tool, plastic eraser, Mini Ink Blending Tool, Mini Ink Blending Foam Pads, Scor-Buddy, Smart Grid Paper Pad, heat tool, Versamark


Thursday, March 18, 2021

Inside Out - MFT's March Slimline Challenge


While card fronts are typically the star of the show, we’re switching things up today so both the interior AND exterior can shine! Coordinating Die-namics, with a fine border that hugs your stamped images beautifully, presents a fantastic opportunity to die cut custom windows in your card front that showcase your images and give your recipient the chance to admire your handiwork before and after they open the card. Our team is applying this fun technique to slimline cards for our challenge this month — why not join them and try it out yourself! Don't forget to stop by the MFT Blog for all the details, more inspiration, and a chance to win a prize!


I had to plan this card a little bit since my Vagabond only accommodates 6" of cardstock so the front overlaps the back to create the fold. But it's all good!

So, the card front was created by sponging Strathmore Bristol Smooth paper cut with Slimline Starter Die-namics, with Candied Apple, Ripe Persimmon, Fossilized Amber, Twisted Citron, Broken China, Faded Jeans, and Wilted Violet Distress inks and then adhering it to the front of the Sweet Tooth card stock base after spattering with clean water and black acrylic ink. 


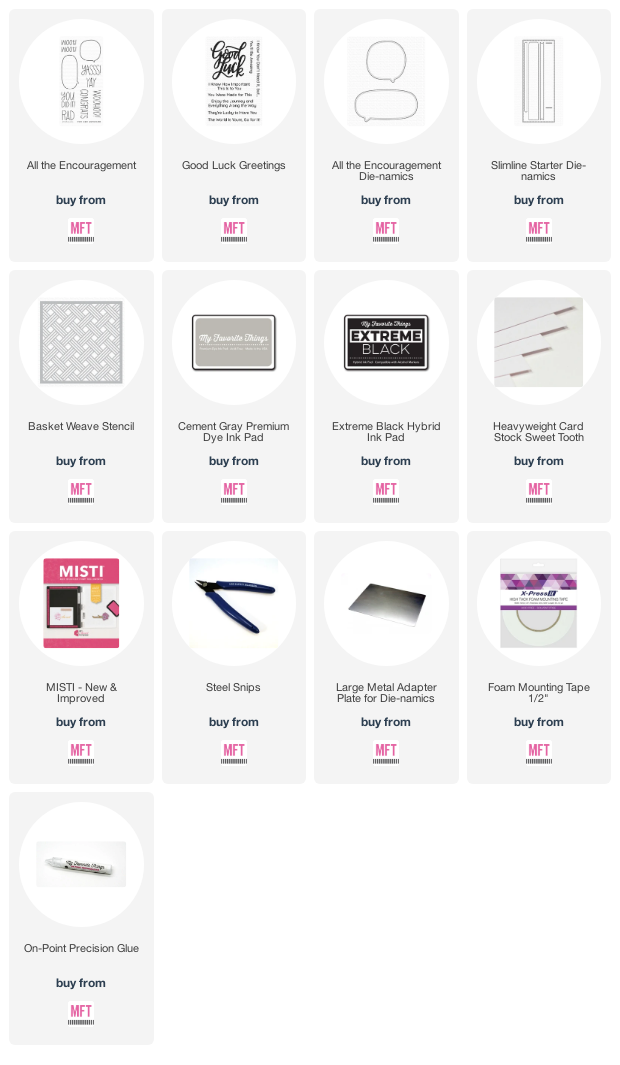
Next I cut through both thicknesses of cardstock with All the Encouragement Die-namics and stamped the sentiment from Good Luck Greetings Stamp Set with Black Licorice hybrid ink. 

Then I stenciled Sweet Tooth card stock with Basket Weave Stencil and Cement Gray dye ink--this stencil works great for a larger than A2 size panel--stamped a second sentiment from Good Luck Greetings Stamp Set at the bottom and adhered it to the back of the card panel.

The two pieces were adhered together to create the folded card and the sentiments from All the Encouragement Stamp Set were stamped through the die cut speech bubbles. To complete the card I added a few enamel stars.

And that’s it from me today! Thanks so much for stopping by! See you soon


All products from
My Favorite Things unless otherwise noted.

Stamps: All the Encouragement, Good Luck Greetings
Die-namics: All the Encouragement, Slimline Starter
Stencils: Basket Weave
Dye Ink: Cement Gray
Hybrid Ink: Extreme Black
MFT Card Stock/Specialty Papers: Sweet Tooth
Supplies/Tools: foam mounting tape, MISTI, Steel Snips, Large Metal Adapter Plate for Die-namics, On-Point Precision Glue

Other: Die-cutting machine, paper cutter, MISTI Grid Paper Pad, MISTI Bar Magnets, Strathmore Bristol Smooth paper, tape runner, Mini Mister, plastic eraser, Mini Ink Blending Tool, Mini Ink Blending Foam Pads, Scor-Buddy, Smart Grid Paper Pad, Candied Apple, Ripe Persimmon, Fossilized Amber, Twisted Citron, Broken China, Faded Jeans, and Wilted Violet Distress inks, enamel stars, black acrylic ink


Thursday, February 18, 2021

February MFT Slimline Challenge - Birthday!!


The MFT February Release is PACKED with an incredible array of celebratory images so needless to say, birthdays are on our minds. From balloons to confetti, there’s plenty of birthday imagery that’s perfect for filling the proportions of a slimline card. With a considerable selection of stamps, dies, stencils, and more, you’ll love joining our team this month in crafting your own slimline birthday cards.


There's so much room to include lots of details on a slimline card and I went all in on this one. I wanted it to have a really party feel and I think all the balloons really helped to accomplish that.

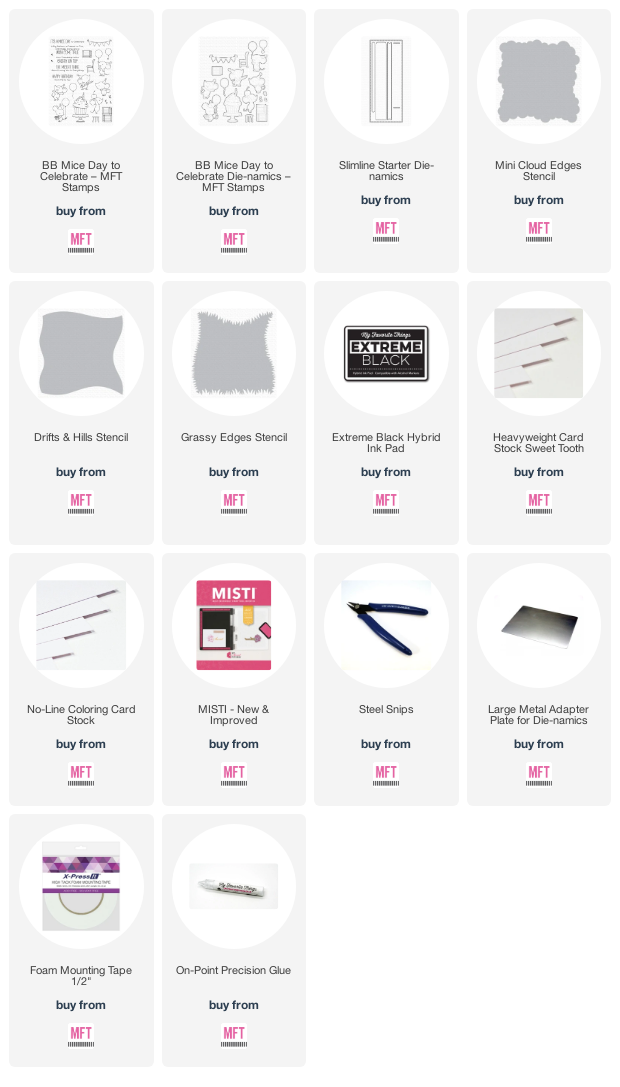
I started by stamping my images from BB Mice Day to Celebrate Stamp Set on No Line Coloring card stock with Extreme Black hybrid ink, cut them out with the coordinating Die-namics, and colored them with Copic markers. 


I wanted the balloons to float off into the ether so it had to be an outdoor scene--they ARE mice, you see. So, after cutting Strathmore Bristol Smooth paper with Slimline Starter Die-namics, I stenciled my background with Mini Cloud Edges, Drifts & Hills, and Grassy Edges Stencils and Broken China, Forest Moss, and Peeled Paint Distress inks, stamped the sentiment from the set and adhered it to a Sweet Tooth card stock base cut 8 1/2" x 7".


Once that was done all there was left to do was to adhered the colored images--some directly to the card front and most popped up on foam tape.

That's all from me today! Thanks so much for stopping by! We can't wait to see what you come up with for YOUR slimline challenge cards!


All products from My Favorite Things unless otherwise noted.

Stamps: BB Mice Day to Celebrate
Die-namics: BB Mice Day to Celebrate, Slimline Starter
Stencils: Mini Cloud Edges, Drifts & Hills, Grassy Edges
Hybrid Ink: Extreme Black
MFT Card Stock/Specialty Papers: Sweet Tooth, No Line Coloring
Supplies/Tools: foam mounting tape, MISTI, Steel Snips, Large Metal Adapter Plate for Die-namics, On-Point Precision Glue

Other: Die-cutting machine, paper cutter, MISTI Grid Paper Pad, MISTI Bar Magnets, Copic markers, Strathmore Bristol Smooth paper, tape runner, QuickStik Pick-up Tool, Sakura White Gelly Roll Pen, plastic eraser, Mini Ink Blending Tool, Mini Ink Blending Foam Pads, Scor-Buddy, Smart Grid Paper Pad, Broken China, Forest Moss, and Peeled Paint Distress inks


Thursday, January 21, 2021

Warm Wishes - MFT January Slimline Challenge: Winter


Slimline scenes offer lots of length for crafting wintery scenes packed with all your favorite outdoor activities. From sledding to skiing to skating, there's ample room to let your characters fly. If subtle scenes of gently falling snow are more your thing, imagine the gorgeous winter skies you can showcase on the supersized canvas these proportions provide! Join the MFT team this month in crafting chilly slimline scenes.


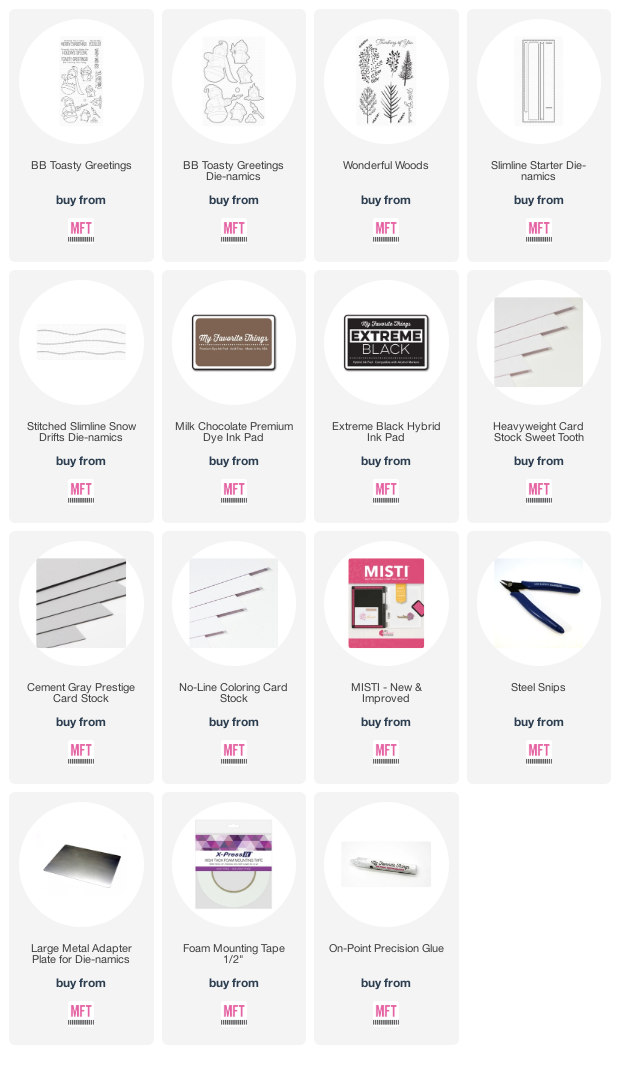
I wanted to create a little scene and I chose BB Toasty Greetings for if. To begin, I stamped the images on No Line Coloring card stock with Extreme Black hybrid ink, cut them out with the coordinating Die-namics, and colored them with Copic markers.


Next I cut Cement Gray card stock with Slimline Starter Die-namics and stamped trees from Wonderful Woods Stamp Set with Milk Chocolate dye ink then added Stitched Slimline Snow Drifts Die-namics cut from Sweet Tooth card stock and popped up on foam tape.


To complete my scene the colored images were adhered with foam tape and I created a snow storm by spattering slightly watered-down white craft ink to finish off. 

Thanks so much for stopping by! Be sure to stop by the MFT Blog for all the details. 


All products from My Favorite Things unless otherwise noted.

Stamps: BB Toasty Greetings, Wonderful Woods
Die-namics: Toasty Greetings, Slimline Starter, Slimline Stitched Snow Drifts
Dye Ink: Milk Chocolate
Hybrid Ink: Extreme Black
MFT Card Stock/Specialty Papers: Sweet Tooth, Cement Gray, No Line Coloring
Supplies/Tools: foam mounting tape, MISTI, Steel Snips, Large Metal Adapter Plate for Die-namics, On-Point Precision Glue

Other: Die-cutting machine, paper cutter, MISTI Grid Paper Pad, MISTI Bar Magnets, Copic markers, QuickStik Pick-up Tool, plastic eraser, Scor-Buddy, Smart Grid Paper Pad, white craft paint, small craft brush