
Hi everyone, welcome to the MFT’s September Release Tips & Tricks! Today I’m going to show you how to add a canopy of leaves to the tree in the just released PI Sending Blessings Stamp Set. I’m actually going to show you two different methods so if you don’t have the supplies for one you probably will have them for the other.

First up, watercoloring, which is what I did on this card. To begin, on Ranger Watercolor Paper and with Hot Fudge Hybrid ink, I stamped the tree trunk where I wanted it. Then, with a waterbrush, I dabbed on the lightest color, which is a light orange and gently dried it with my heat tool. You can wait for it to dry but I’m always in a hurry ;-)
Then I dabbed on the next color, using a brighter orange and dried that. If you don’t dry in between colors in watercoloring you will get a muddy mess. So dry those colors!
Next I added a light red, also just dabbing the color from the brush to create the look of shadow and dimension.
Once that was dry I painted in the ground using green…
…and the sky with blue, filling in any areas in the canopy with blue to create an airy look. I added more green to the tufty grass that is part of the stamp. I also colored the tree trunk at this time, and after it dried it was ready to use on a card.
Next, let’s do one using MFT dye ink. For this, I used Hot Fudge Hybrid Ink to stamp the image and Sour Apple, Orange Zest, and Tangy Orange for the leaf canopy.
Using an art sponge cut in wedges, I inked up the sponge and dabbed Sour Apple dye ink as a base. I tried several versions, using the orange first, but I found starting with the green keep the colors more distinctive. No idea WHY, it just did ;-)
Then I added Tangy Orange for accent—I knew I wanted Orange Zest to be the predominate color so I saved it for last.


And here it is, filled in and out with Orange Zest and the trunk colored with Copic markers.
Now, I didn’t want to Copic color the entire background so I got out my Mini Cloud Stencil and Blue Breeze dye ink and filled in that sky, working around the tree after also stenciling Grassy Edges for grounding.
And here’s the finished product.
And that’s it from me today! I hope my tips & tricks will help you give your tree a colorful leaf canopy and some dimension.


Thanks for stopping by! See you soon!
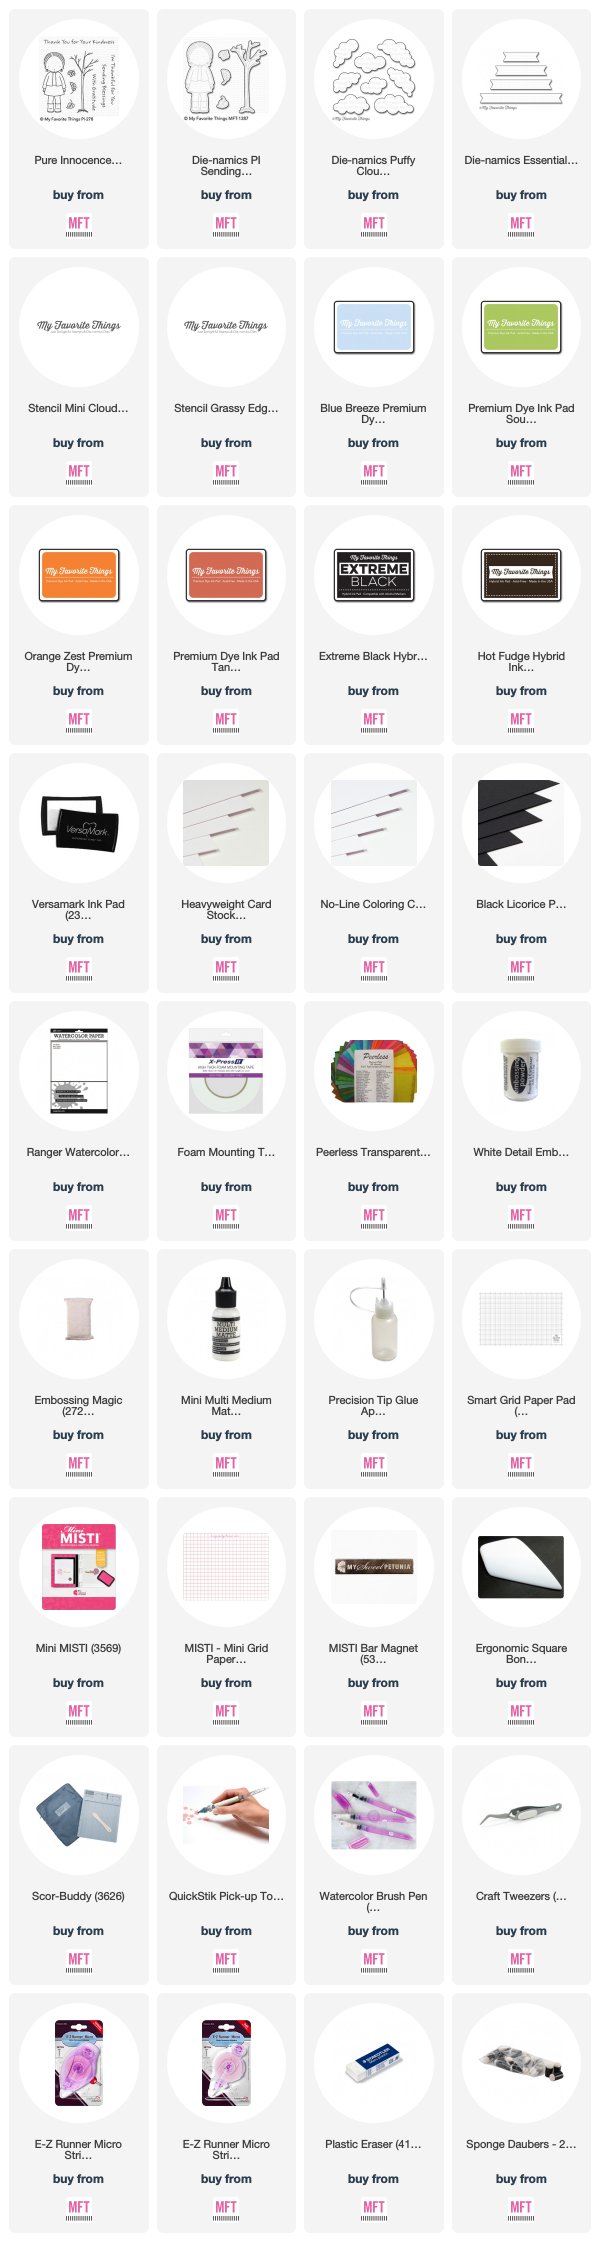
![1newsupplies_thumb[1]](https://blogger.googleusercontent.com/img/b/R29vZ2xl/AVvXsEioqGUtm6d4FJICUpBllBOV6vfZiCga9nqbkw9smzCKUoJFI6ACCkGptRR-P81UE3RO_ZaE7c232ZR0iK3_lKOopj97Xaz3bUqCBkkNbonaMGmqEfpomtSYMmHwTr8ttkD7RMUB0pIarjSb/?imgmax=800 "1newsupplies_thumb[1]")
All products from My Favorite Things unless otherwise noted.
Stamps: PI Sending Blessings
Die-namics: PI Sending Blessings, Puffy Clouds, Essential Fishtail Sentiment Strips
Stencils: Mini Cloud Edges, Grassy Edges
Dye Ink: Blue Breeze, Sour Apple, Orange Zest, Tangy Orange
Hybrid Ink: Extreme Black, Hot Fudge
Specialty Inks: Versamark
MFT Card Stock: Sweet Tooth, Black Licorice, No Line Coloring
Specialty Papers: Ranger Watercolor Paper
Supplies: foam mounting tape, E-Z Runner, Peerless Watercolors, white detail embossing powder, Multi Medium Matte Glue
Tools: Smart Grid Paper Pad, Mini MISTI, Mini MISTI Grid Paper Pad, MISTI Bar Magnets, Square Bone Folder, Scor-Buddy, QuickStik Pick-up Tool, Precision Tip Glue Applicator Bottle, Embossing Magic, water brush, craft tweezers, plastic eraser, sponge daubers
Other: Die-cutting machine, paper cutter, Copic markers![1newsignature_thumb[1]](https://blogger.googleusercontent.com/img/b/R29vZ2xl/AVvXsEjjYECN7M6ugjf3v6GWqoy_5zZ32ZsKMHOfg9jA-6FFDofdUPiwsayeILk6FbuxN_Yh9yI7rGZ5hbR0Z1rIAkW01r9O54g695YIvuFFNUH-PIi2L42yGjyaysTvi8gwWGcVmC3CW8j-3fHL/?imgmax=800 "1newsignature_thumb[1]")
I appreciate that you showed me these two different techniques to arrirve at same goal.
ReplyDeleteThat.Card. It's so cute. Thanks for the tips and tricks.
ReplyDeleteSo pretty! i love the tree!!
ReplyDelete