
Hello and welcome to Tips & Tricks for June! With today’s card I’m going to show you how to get double duty from your stencils: adding dimension and color in the same element.

While I love stenciled backgrounds and card elements, adding some dimension at the same time steps it up to a whole ‘nother level. For our “sun” on this card, first I dry embossed some Sweet Tooth card stock with Radiating Rays Stencil. This panel is 5” x 3 3/4” and I positioned the center below the mid point of the panel…
…and ran it through my Cuttlebug with the thin pad from Die-namics Embossing Pad Combo. I use the ‘Bug because my Vagabond exerts too much pressure and sometimes warps the card stock.
So, we have nice dimension with this dry embossing and next I placed the stencil back in the same place (I have two copies of any stencils with which I dry emboss. One for embossing and the other for ink and pastes since inks can stain.) and sponged Lemon Chiffon Premium Dye Ink with a sponge dauber.
Tip: always tape your cardstock and stencil down, separately, to avoid the stencil shifting and to maintain crisp color application.
Once that was done I wen over that with Daffodil Premium Dye Ink to intensify color at the center.
Here it is when the sponging is finished—darker in the center and feathering out lighter at the periphery.
To complete the card, I added a circle of Daffodil card stock in the center with a sentiment from Full of Sunshine Stamp Set, heat embossed with white detail embossing powder. I also sponged up some card stock with the two colors I used for the sun rays in an ombre’ pattern, cut Sunshine Die-namics three times, layered them up, and adhered it to the card front.
To finish, I added some Bumblebee Sprinkles with several shades of yellow. I hope you’ll try this two-step stenciling technique soon—it’s lots of fun!


Thanks so much for stopping by today! See you soon!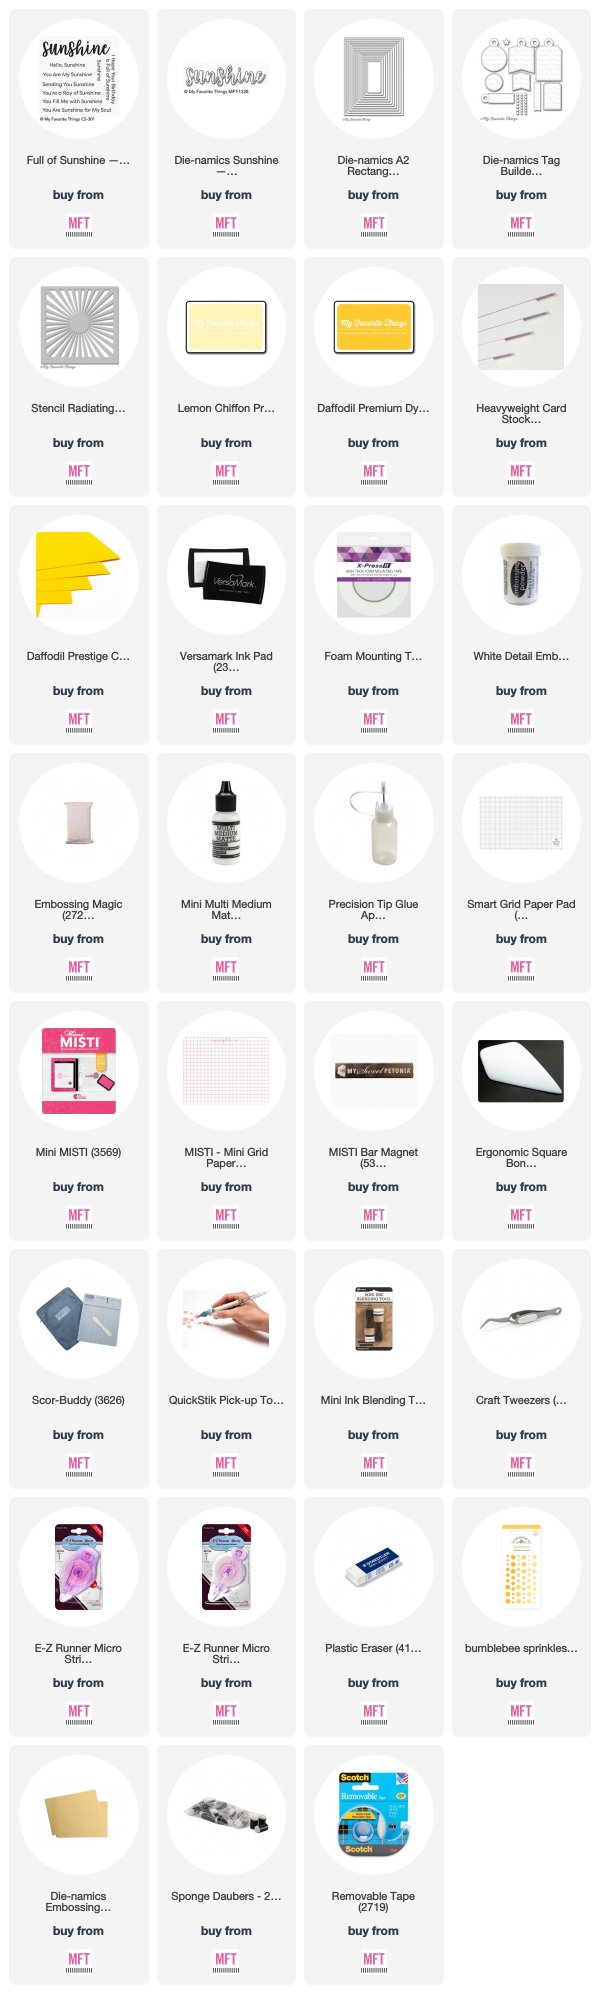
![1newsupplies_thumb[1]](https://blogger.googleusercontent.com/img/b/R29vZ2xl/AVvXsEhA4l8z7yFVIolg05zqrLKhrnEPwD4xPrvHQwRavIWUVr_IHiIZeVcijmw6HYnoXE_xnpbFVNFg-jBWNd2wyDBXH8F1nGh8sdcwNrN4xuFDenZY_JG4UVsspysB4IpoMsrcHsbYvSxcKUMf/?imgmax=800 "1newsupplies_thumb[1]")
All products from My Favorite Things unless otherwise noted.
Stamps: Full of Sunshine
Die-namics: Sunshine, A2 Rectangle STAX Set 2, Tag Builder Blueprints 4
Stencils: Radiating Rays
Dye Ink: Lemon Chiffon, Daffodil
Specialty Inks: Versamark
MFT Card Stock: Sweet Tooth, Daffodil
Supplies: foam mounting tape, E-Z Runner, white detail embossing powder, Multi Medium Matte Glue, Sprinkles: Bumblebee, removable tape
Tools: Smart Grid Paper Pad, Mini MISTI, Mini MISTI Grid Paper Pad, MISTI Bar Magnets, Square Bone Folder, Scor-Buddy, QuickStik Pick-up Tool, Precision Tip Glue Applicator Bottle, Embossing Magic, craft tweezers, plastic eraser, Mini Ink Blending Tool, Die-namics Embossing Pad Combo, sponge daubers
Other: Die-cutting machine, paper cutter, heat tool![1newsignature_thumb[1]](https://blogger.googleusercontent.com/img/b/R29vZ2xl/AVvXsEjS7PIW3xw2kX5TJsaQiSBgxOq5jEkDo7fxG48VQm6pdujMtx_sOZktw2tnX5mx4CaktfPiC_OS_pOsYESa5NpnYNG8DVPD756QX3jA1XijSsxCD1fgHG-pPbmcxPdFkg4cfF8HM-gX3lyF/?imgmax=800 "1newsignature_thumb[1]")
This is really attractive, Barbara. I love the addition of the die cut circle in the center.
ReplyDeleteSuch a pretty card, Barbara! Thanks so much for the tutorial :)
ReplyDeleteGreat tutorial. Thank you. Sorry to see sunshine die is not available.
ReplyDeleteBeautiful dry embossed and sponged sun rays, Barb. TFS your stencil tips. Hugs..
ReplyDeleteWow! Just gorgeous!!
ReplyDelete