


OMGoodness, this Pure Innocence set and Interactive Swing Die-namics is a match made in Heaven! I’m going to show you how I assembled the mechanism for this adorable interactive card so settle back. This post is photo-heavy but I tried to combine steps in a photo where I could. This really is SO easy to do and I love it!

Before I start showing the steps, here’s a little video showing the action:
Isn’t that just the cutest??? OK, so here’s what you will need. I already stamped the image on No-Line Coloring card stock with Extreme Black Hybrid Ink, cut it out with the coordinating Die-namics, and colored it with Copic markers. You will also need a card base, a card front, and the dies you see pictured along with card stock for the tree top and some stencils, ink, and a Spin & Slide Disc.

The next thing I did was decide where the mechanism was going to go, based on where I wanted the stamped image to go. So I lined it up on this die to get the position right.
I knew I was going to stamp the sentiment at the very bottom so I left room for that.

Next I cut that long piece from scrap white card stock, put it back in place on the card front panel, and traced the inside of the circle with pencil.

Then I created the background with Mini Cloud Edges and Grassy Edges Stencils, Blue Breeze and Gumdrop Green Premium Dye Inks. Then I cut the circle I penciled in the last step using the smaller of the circle dies and cut a piece of scrap white card stock with the larger circle die. I also cut the tree top from Gumdrop Green card stock and did some sponging to add a little dimension.

Here I’ve positioned the card front on the card base and glued the Spin & Slide Disc to the card base with liquid glue after stamping the sentiment at the bottom with Extreme Black Hybrid Ink.

Next I added foam tape the back of the card front and the tree top—be careful where this is placed to avoid impingement when the swing is working. I adhered the image to the long white die cut and added a penny to the bottom of the image—the weight will keep it hanging straight when it’s not swinging plus add momentum.

Then I turned the card front over, placed the hole over the adhered Spin & Slide Disc, added the long piece over the disc, and adhered the larger circle die cut on the disc with liquid glue, which keeps the swing from coming off the disc.


I hope you’ll give this Stamp Set and Die-namics a try—it really is easy and fun!
*****
My second card today is much simpler and straightforward :) I’m using Cut Flowers Background as a focal point and it is awesome. I began by cutting a larger Oval STAX Die-namics from some white card stock as a stencil and used it to sponge the background with Berrylicious Premium Dye Ink then stamped the background stamp with Extreme Black Hybrid Ink. I usually use a separate panel for my card front so if I mess up (a not uncommon occurrence, LOL), I don’t ruin a card base. If I’m stamping something over a sponged background I’ve found hybrid ink keeps the image crisper than using more dye ink.

Then I added a heat embossed sentiment from LJD Geometric Leaves Stamp Set and a die cut from Twice the Thanks Die-namics, cut once from Silver Sparkle card stock and twice from Black Licorice card stock, stacked together and adhered directly to the card front.

And that’s it from me for Day Five of MFT’s March Release Countdown! Thanks so much for stopping by! See you back tomorrow for Day Four and more fun!


All products from My Favorite Things unless otherwise noted.
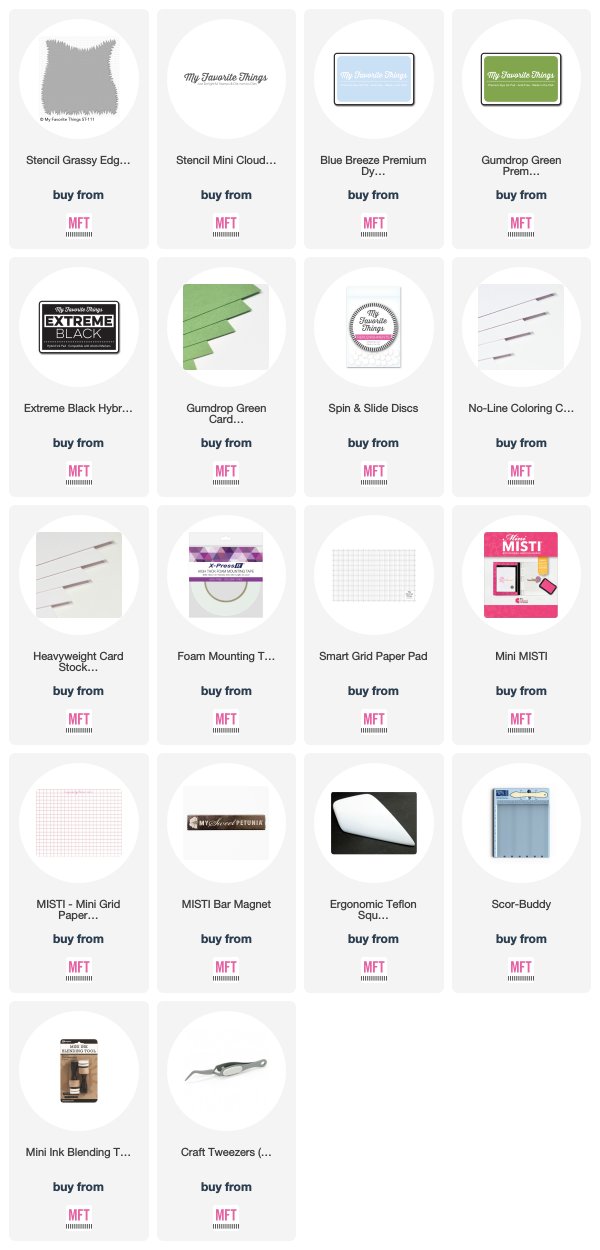
Swing Card:
Stamps: PI Start Each Day with a "Whee"
Die-namics: Start Each Day with a "Whee", Interactive Swing
Stencils: Mini Cloud Edges, Grassy Edges
Dye Ink: Blue Breeze, Gumdrop Green
Hybrid Ink: Extreme Black
MFT Card Stock: Sweet Tooth, Gumdrop Green, No Line Coloring
Supplies: foam mounting tape, Spin & Slide Disc
Tools: Smart Grid Paper Pad, Mini MISTI, Mini MISTI Grid Paper Pad, MISTI Bar Magnets, Square Bone Folder, Scor-Buddy, craft tweezers, Mini Ink Blending Tool
Other: Die-cutting machine, paper cutter, Copic markers, tape runner, Multi Medium Matte Glue, QuickStik Pick-up Tool, Precision Tip Glue Applicator Bottle, sponge daubers, plastic eraser
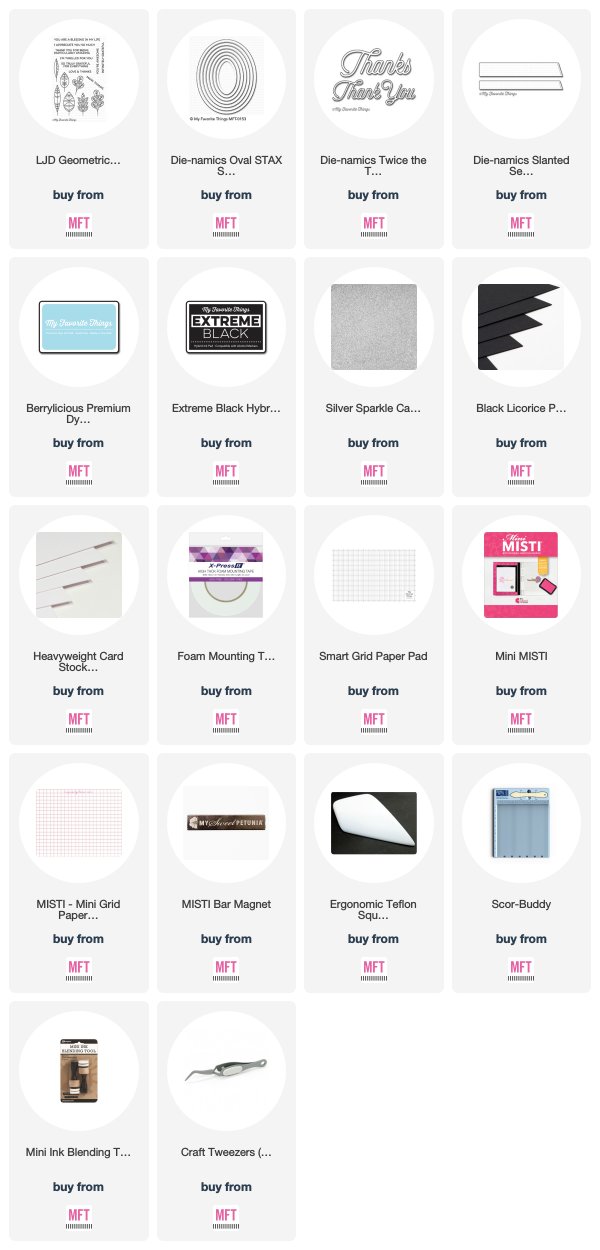
Flower Card:
Stamps: Fresh Cut Flowers Background, LJD Geometric Leaves
Die-namics: Twice the Thanks, Slanted Sentiment Strips, Oval STAX Set 2
Dye Ink: Berrylicious
Hybrid Ink: Extreme Black
MFT Card Stock: Sweet Tooth, Black Licorice
Specialty Papers: Silver Sparkle
Supplies: foam mounting tape
Tools: Smart Grid Paper Pad, Mini MISTI, Mini MISTI Grid Paper Pad, MISTI Bar Magnets, Square Bone Folder, Scor-Buddy, craft tweezers, Mini Ink Blending Tool
Other: Die-cutting machine, paper cutter, Strathmore Bristol Smooth paper, tape runner, white detail embossing powder, Multi Medium Matte Glue, QuickStik Pick-up Tool, Precision Tip Glue Applicator Bottle, Embossing Magic, plastic eraser, heat tool, spray adhesive

Thank you for the tutorial! Gorgeous cards!
ReplyDeleteLove the little girl on the swing - can't wait for this set!
ReplyDeleteBarb, your card with the little girl swinging is super cute. That die set is on my must have list.
ReplyDeleteLove both your cards, so pretty! Thank you for showing how the swing die works... can't wait to try!
ReplyDeleteGreat card I love it♡
ReplyDeleteOh my gosh, I love these cards. Sweet Innocence gals have a special place in my heart. I love this swing.
ReplyDeleteGreat tutorial. So clever.
ReplyDeleteI love this swinging die! Definately going to out this one on my wish list. Fantastic job!!
ReplyDeleteI have the initial "Start everyday with Wheee" I always thought it was so cute but this new one is even better. You have inspired me with so many ideas over the years and this interactive swing is no exception. Thank you so much for your sharing your talent and inspiration.
ReplyDeleteLove the interactive swing card and the flower card is so sweet.
ReplyDeleteThank your for the clear directions for the swing card-It's fabulous!
ReplyDeleteWow! I am so loving the swing card. I have so many ideas for that.
ReplyDeleteI love your swing card, so cute
ReplyDelete