To begin, I cut Strathmore Bristol Smooth card stock with Slimline Starter Die-namics and sponged it with Broken China, Mermaid Lagoon, Blueprint Sketch, and Black Soot Distress Inks. Once it was dry I spattered it with white craft ink for a flurry of snow.
Here you see it in action, once the button is pressed. These little guys put out a ton of light!!
Here's a still with the lights off...
...and one with the lights on.
After I completed the background, I die cut the snowflake openings and added the lights to the back.
The snowflakes on one layer of foam allow lots of light to come around them as well as through the holes.
Always test your lights before fully assembling the card front ;-)
And there you have it from me for this month's MFT Birthday Project Challenge! Thanks so much for stopping by! Now, it's your turn. Winners are chosen at random, so everyone has a chance! Check by the MFT Blog for all the details!
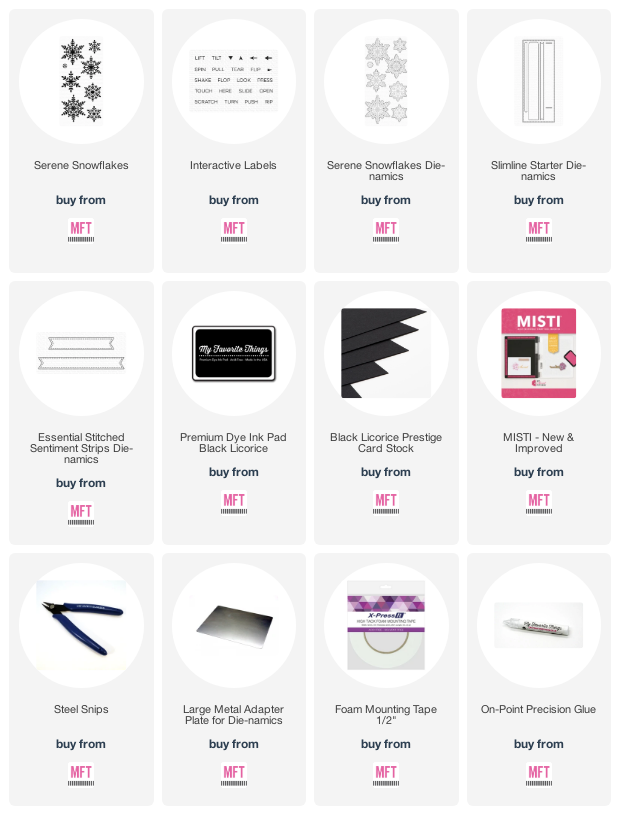
Stamps: Serene Snowflakes, Interactive Labels
Die-namics: Serene Snowflakes, Slimline Starter, Essential Stitched Sentiment Strips
Dye
Ink: Black Licorice
MFT
Card Stock/Specialty
Papers: Sweet Tooth, Black Licorice
Supplies/Tools:
foam
mounting tape, MISTI, Steel Snips, Large Metal Adapter Plate for
Die-namics, On-Point Precision Glue, Pear Blossom Press EZ Lights, 1/2" Scor Tape
Other:
Die-cutting machine, paper cutter, MISTI Grid Paper Pad, MISTI Bar
Magnets, Strathmore Bristol Smooth paper, white detail embossing powder, Embossing Magic, QuickStik Pick-up
Tool, plastic eraser, Mini Ink Blending Tool, Mini Ink Blending
Foam Pads, Scor-Buddy, Smart Grid Paper Pad, Versamark, heat tool, Broken China, Mermaid Lagoon, Blueprint Sketch, and Black Soot Distress Inks


such a gorgeous card!!
ReplyDeleteFabulous!!!
ReplyDelete